Follow:

    So this is a… problem. | The Leather Jacket Dilemma

    I’ve been thinking some Serious Thoughts about leather jackets recently, and (in light of a short Twitter conversation with a few of my favourite human beings on the interwebs), I thought I may as well get my predicament out there.

    Because I’m sure lots of you will be having the same problem.

    Just kidding! No one else is having this problem, because I’m a good number of degrees weirder than the rest of the world. But hey! What’s a blog for if you can’t bitch about clothes every now and again?

    (Basically, I just want to find a warm, soft, secondhand leather jacket with an asymmetrical zipper and a bit of a masculine edge. Is that really so much to ask for?)

    (See, but that’s funny, because it really, really is.)

    The problem(s)

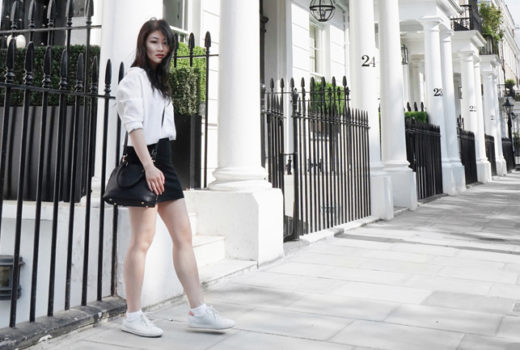
    Basically, there’s this thing wherein when I put on a leather jacket, I look like I’m on my way to beat someone up. (Conversely, when my adorable older sister puts on the same jackets, everyone around her is faced with an unbearable urge to give her candy or pat her on the head.) It’s not my best look, by far.

    (Unless I’m going for “aggressive to a fault,” I guess. Though I can’t really think of a situation which would call for that.)

    That’s problem one.

    Problem two is that I’m not really into leather. I’m not vegan, or even vegetarian, but there’s just something kind of uncomfortable about the idea of wearing something else’s skin around, you know? I’ll make an exception for shoes (preventing back problems is always a priority for me, and I’ll take good arch support wherever I can find it), but I’ll avoid leather bags and belts if I can.

    [ Aside: If it’s something that I could find non-leather, I’ll go for the non-leather version. If not, I try not to get too hung up over it. At the end of the day, it’s a squeamish issue for me, not an ethical one. ]

    Anyhow, leather biker jacket ramble –> over. I think I’d like to go secondhand or vintage if I do pick one up (smaller eco footprint, not directly supporting the businesses producing leather, etc), but I’m still not sure.

    In all likelihood, I’ll just put it off until I forget that I wanted a leather jacket in the first place. Crisis averted! 

    Quips, questions, qualms: hit us up in the comments.

    Share:

    A bit of Easter beauty to start off your long weekend

    I don’t think we’ve covered Easter beauty on theNotice in the past, but there are a few sets and products out this year that are just too perfect to pass up. So, without further adieu: let’s get eggy!

    (I can say that, right? It’s not, like, weird or sexual or offensive in any way?)

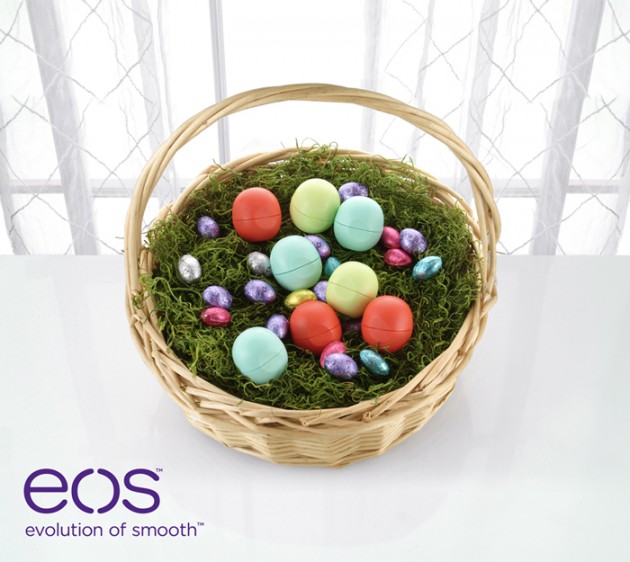
    The eos Easter Basket

    It’s been a while since I’ve talked about the eos smooth spheres, but I promise it’s not because I love them any less now than I did then. I just get distracted; you know how it is. (Plus, my sister appropriated my Honeysuckle Honeydew balm a while back, and I’ve yet to pick up another.)

    I have to be honest, here: when the eos Easter image popped up in my inbox, I couldn’t not post about it. I mean, how cute is that? When a great, 100% natural, petrolatum- and paraben-free product turns out to be the perfect beauty-addict version of an easter egg, you just have to share the joy.

    And if that little piece of joy just so happens to be $3.99 CAD and USDA-certified organic, well.

    A bit of LUSH

    Reusable bubble bars, eggs with tiny birds inside of them, and random donkeys, oh my!

    I don’t think there’s any beauty company that does the holidays (by which I mean all holidays) as thoroughly or weirdly as LUSH, and you have to give them points for effort awesomeness. And, just as a testament to that awesomeness: an excerpt from Donkey Oaty.

    “We’ll be honest. We don’t really know why we’ve got a donkey for Easter. It’s very odd. We originally had the idea of creating a Bath Bomb piñata that you hung over the bath and then smashed, so we made a big donkey bomb. Although we liked the idea, we couldn’t work out what should be inside the donkey (eggs? A little donkey?!) – so we made him a bit smaller.”

    LUSH is about as weird as it gets, and the fact that they’re pulling off both strange and mainstream? Obviously, they’re doing something very, very right!

    And, finally, some Ellis Faas.

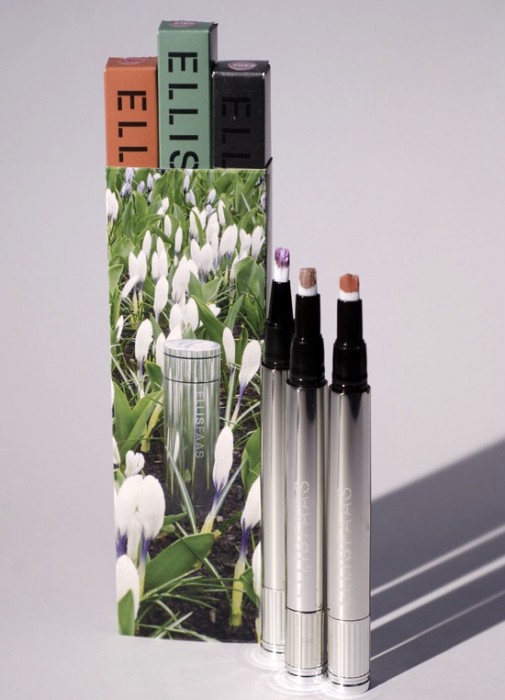
    Ellis’ Spring Gift Set isn’t actually out for Easter, specifically, but that doesn’t change the fact that it’s out just in time for the holiday! (Also, Easter colours and Spring colours are pretty much the same, aren’t they?)

    The set, at a cringe-worthy $85.00, contains a lavender-taupe (Creamy Eyes E106), a shimmery lilac (Light E304), and a nude pink lip colour (Milky Lips L207). I’m rather at odds with the Ellis packaging, but I’ve said it before and I’ll say it again: no one does cream eyeshadows like Ellis Faas. They can be a bit difficult to work with, but they last all day – quite a feat, with lids as difficult as mine.

    Have a lovely Easter weekend!! xx

    Share:

    I was never much of a mountain girl anyways | Vasanti Rockies Blush review, photos, swatches

    The product: Vasanti Microionized Silky Blush in Rockies 

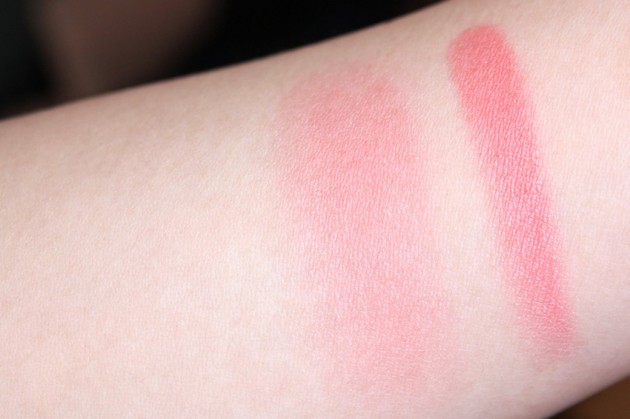
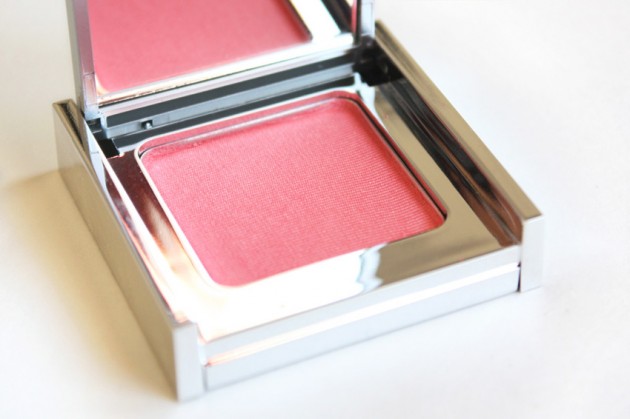
    The shade: Rockies, despite the tangerine-coral look of the product on the Vasanti site and its description as a “beautiful coral that brightens and hilights all skintones,” is more of a bright, peachy pink than a straight-up coral in real life. It has quite a bit of gold shimmer worked into the shade, aligning it with products like NARS Orgasm in my head – because my head makes weird logic leaps like that; not actually because they’re dupes (or even close to being such).

    If you ask me, Rockies is first and foremost a pink blush, and it just so happened to have been attacked by a bit of coral and a lot of shimmer before leaving the factory – not the other way around.

    Vasanti Rockies swatches – lightly, then heavily.

    The formula: I’m not, admittedly, the most strict tester when it comes to blushers – with fair, dry skin and reasonably small pores, a blush has to be pretty darn terrible in order to completely disappoint me.

    That said, though, I did like the formula of this blush. It’s not too powdery in the pan, and goes on with just the right intensity: there’s no chalkiness whatsoever, but it’s also not so pigmented that it’s hard to work with. While I’m not personally a fan of shimmery blushers, Rockies does give a very pretty glow, blending out evenly and lasting all day.

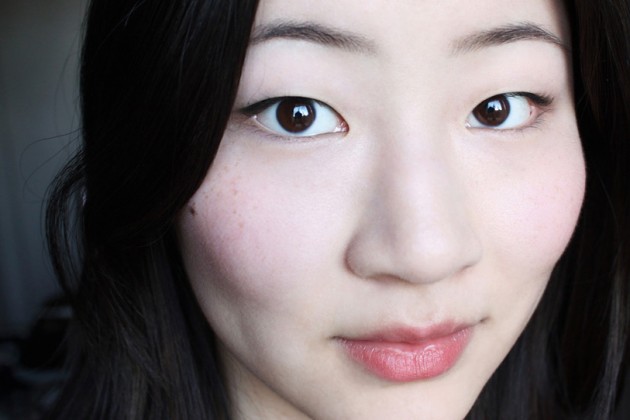
    Wearing Vasanti Rockies blush

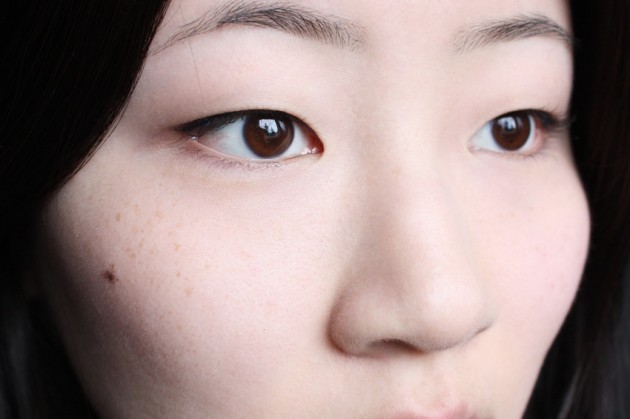
    (Rest of the face: Clinique Chubby Stick in Whole Lotta Honey, Senna Sketch-A-Brow in Mink, and Clinique Quickliner for Eyes in Charcoal.)

    The verdict?

    At $15 each, Vasanti’s blushers are a great drugstore find. If I compare Rockies to the other shimmery blushers in my collection, it can hold its own against products both in its price range (high end of the drugstore) as well as in the more expensive department-store/high-end bracket: I’d reach for this over my NARS Orgasm or 100% Pure Mimosa (both shimmery peaches) any day.

    While Rockies isn’t a shade that I can see myself wearing on a frequent basis, I do think that (objectively), it’s a very solid formula at a price point that’s well worth it. Pair that with the fact that it’s a Canadian product free of animal testing, parabens, silicones, and fragrances, and I think we have a winner!

    Ingredients, additional photos, and more swatches »

    Share:

    Just a heads-up…

    Not quite sure when it’ll happen, but theNotice will be down for a bit later today (Wednesday, April 4th) for a server migration. Sorry for the inconvenience, and I’ll see you later tonight with some more Vasanti!

    If you’re terribly bored and in need of your daily fix of Rae you have any pressing comments, questions, or concerns, feel free to poke at me on Twitter (@theNotice) or drop me an email (rae [at] thenotice.net).


    Please try not to be eaten by a wild animal while the site’s down,

    Rae

    Share:

    COMING UP | Vasanti Cosmetics

    Just a bit of a teaser post this morning! One of my goals for this year is to feature more Canadian content on theNotice, and I figured that Vasanti Cosmetics would be a good place to start. (I have some Joe Fresh in my “to review” drawer as well, but all in due time!)

    A bit about the brand

    Founded by three Canadian women, the Vasanti line aims to encourage women to celebrate and enhance their natural beauty. Their products are made to be lightweight and easy-to use, fitting a wide range of skintones and suiting a large variety of skintypes – Vasanti’s skincare range is quite small (with just two products, if I’m not mistaken), but their colour range goes right from sheer neutrals to bold brights.

    Vasanti products are all gluten-free and not tested on animals, and (due to increasing demand), they’re slowly including more and more paraben-free products in the line, too. You can find them in select Shoppers’, Rexalls, Lawtons, and Pharmasaves across Canada, or online.

    (And before you ask – yes, they ship internationally!)

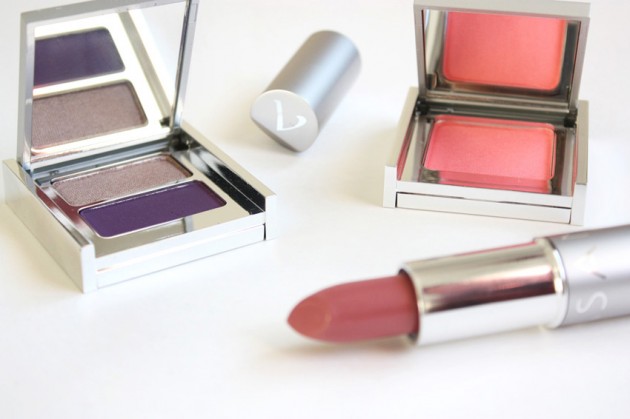
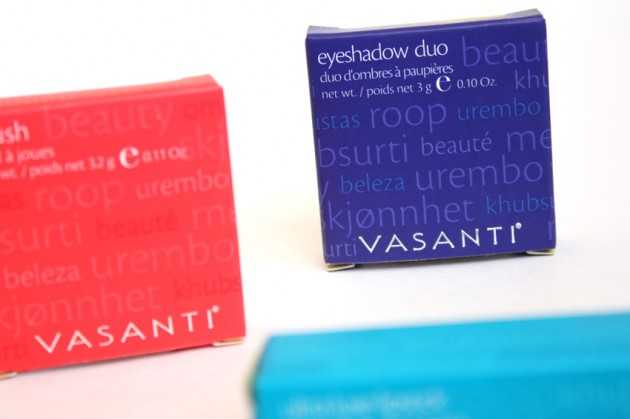
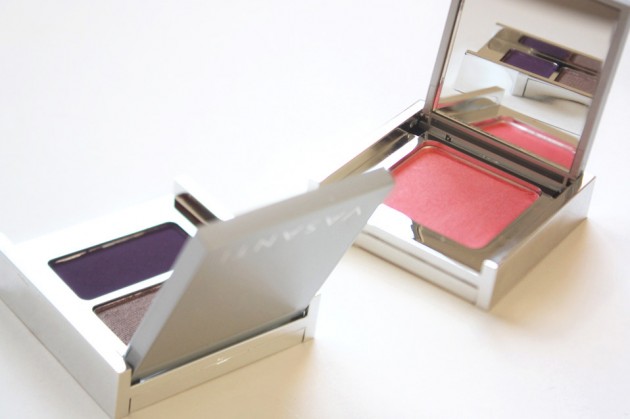
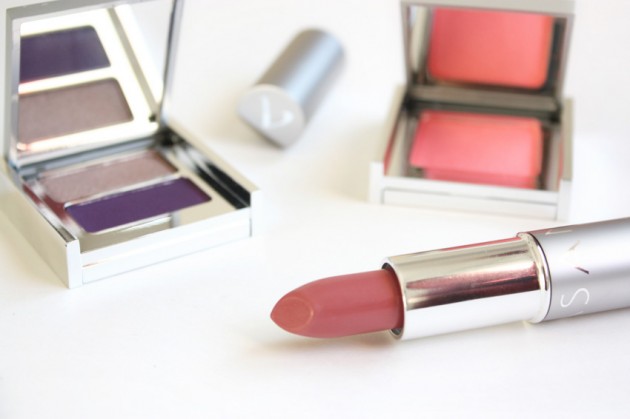
    The three products in this post are the Mount Rushmore Silky Eyeshadow Duo, Sweden Ultra Luxe Lipstick, and Rockies Silky Blush. Reviews are on their way (admittedly quite slowly; I’m afraid my blogging mojo has been MIA for the last few months), and I hope to find time to include them in some makeup looks soon.

    See anything you like? ;) 

    Share:

    A universal lipstick with the Lipstick Bandits | MAC Viva Glam V review, photos, swatches

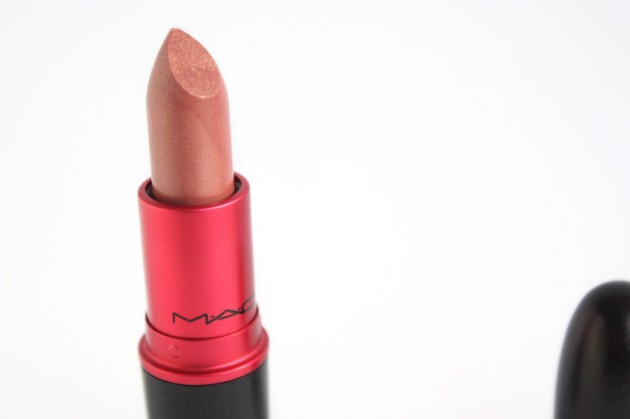
    The product: MAC Viva Glam V Lipstick (Lustre)

    The purpose: One thing that I love (absolutely love) is seeing how the same shade will translate onto different skintones. Luckily for me, my friends are just as crazy.

    For the April round of the Lipstick Bandits, we all bought the same tube of lipstick: MAC’s Viva Glam V. I believe it was Tracy who suggested the shade, and if you ask me, it’s absolutely perfect. Viva Glam V is one of those great MLBB shades that wears well on almost everyone, and today, you’ll get to see how it wears on twelve different skintones. 

    (Can you tell that I’m excited? I’m really bloody excited.)
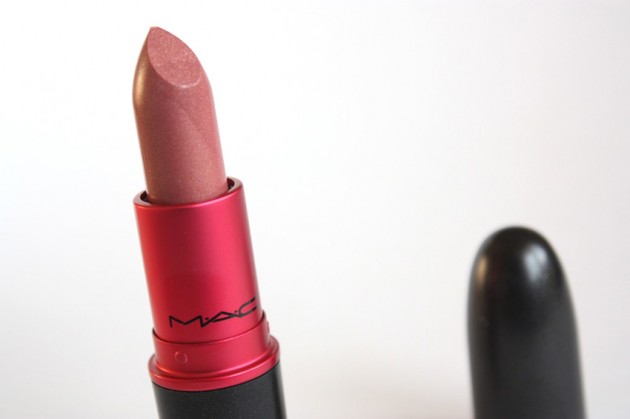
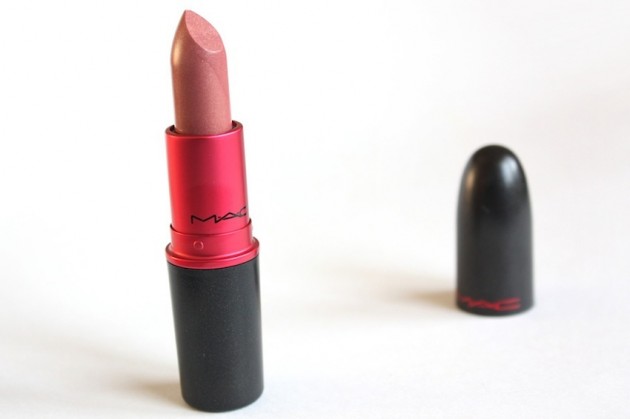
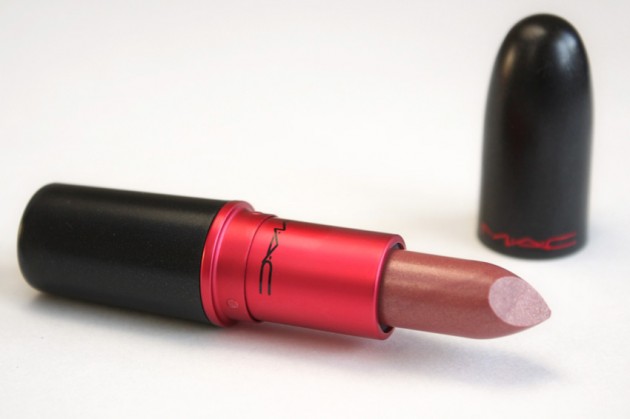
    Both images above: Viva Glam V, in slightly different lighting. (Isn’t it a weirdo?)

    The cherry on top is that MAC’s Viva Glam line donates 100% of the purchase price to the MAC Aids Fund, which is pretty much as good as it gets, as far as charitable products go. Most companies will donate a dollar or two per tube, and more often than not, there’s a cap on how much they’ll donate overall.

    So, without further adieu, I bring you MAC Viva Glam V!
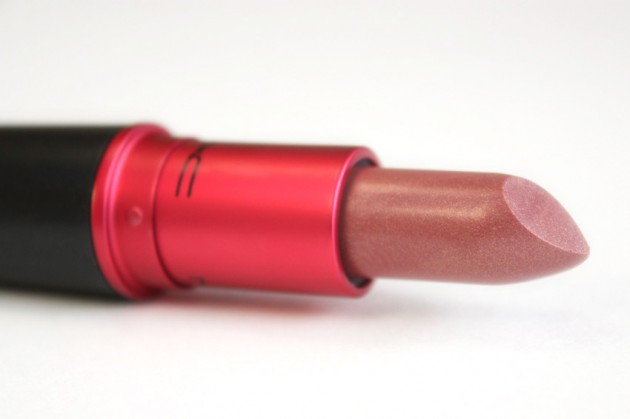
    The formula: Unfortunately, I’m not much of a fan of MAC’s Lustre formula. Like Desire (a gorgeous creme-finish burgundy, and my autumn Lipstick Bandits choice), I find VG V to be a bit okay, more than a bit shoddy in the moisture department. It’s more comfortable than a cheap matte, of course, but I find my lips are begging for moisture by the time this wears off.

    As always, the MAC lipstick formula is paraben-free and scented solely with vanillin.

    Bare lips

    MAC Viva Glam V lip swatch

    The shade: Viva Glam V is an interesting shade, though. Based on how it looks in the tube, I had expected a more dense colour, and with more brown tones in it. When swatched, though (whether on my lips or just the back of my hand), it’s unexpectedly pink – sort of a neutral-rose, rather than a lightly pinked brown.

    In line with many of MAC’s other Lustre shades, Viva Glam V is sheer with quite a bit of shimmer. I find it rather unforgiving on my dry, too-wrinkly-for-their-age lips, but you’ll have to check in with the other Bandits for the final judgement on that one! (I’m excessively picky. Y’know, in case you hadn’t noticed.)
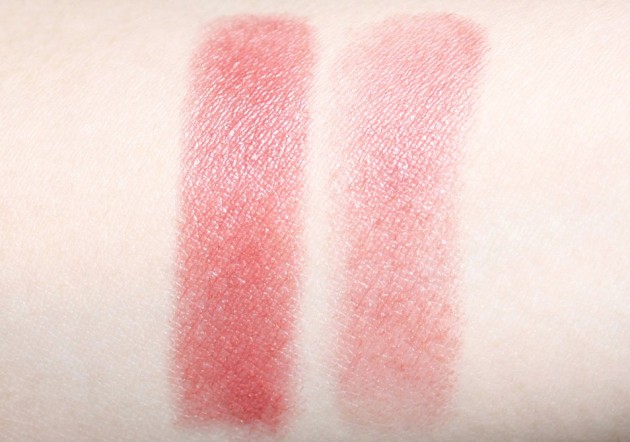
    MAC Viva Glam V swatch – heavily, then lightly.
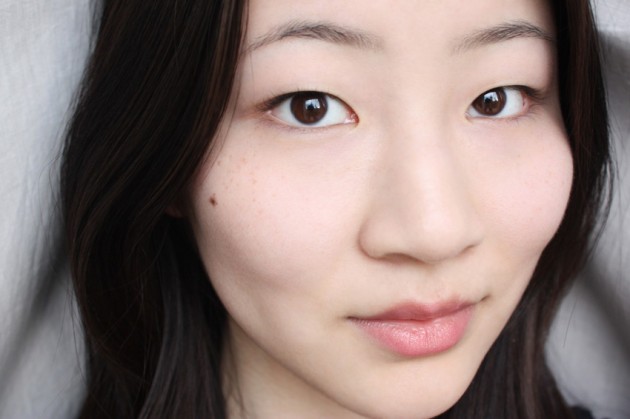
    Wearing VG V – it’s quite a natural-looking shade!

    The verdict?

    Okay, so I’m not thrilled with Viva Glam V on its own. I’m excited to see the shade on the rest of the Bandits, though, and I know a number of them are crazy about it!

    If your lips aren’t too dry, and you’re looking for a neutral rose with a bit of shimmer, I’d give this one a go. There isn’t a better lipstick to put your money toward than the Viva Glam line, so I’d definitely say they’re worth checking out on the whole! Give the lustres a skip if you have lips as dry as mine, though, and beware of this particular shade if you’re not a huge fan of shimmery lipsticks.
    A few links: Karla has the permanent Viva Glam lipsticks swatched here, as well as swatches of the current LE Viva Glam products (Nicki and Ricky) here; Bluebell’s Beauty Blog has lip swatches of the first five Viva Glam shades here; and finally, The Shades of U has the permanent VG lipsticks swatched on a darker skintone here.

    And now, the good stuff! See Viva Glam V on the rest of the Lipstick Bandits »

    Share:

    New 01/04/12

    Under $20

    Skin + base

    New Clarins UV Plus Daily Shield!! Ahhh!!

    The original SPF 40 Daily Shield was the first Clarins product to have ever knocked my socks off. I didn’t ever end up buying a bottle (shortly after finding it, I realized ‘cones were what was making me break out), but I’m no less impressed with it today than I was when I found it!

    Everything else

    (And what a lovely “everything else” it is.)

    I can’t be the only one who’s D-Y-I-N-G to smell Spicebomb, right? The name alone has me on the edge of my seat! (And yes, I’m on a men’s fragrance kick again. Shush.)

    Share:

    Clinique Quickliner for Eyes Intense: Intense Black, Intense Plum swatches

    I believe I promised eye swatches, yes?

    Here are two of the shades featured in our review — just two, because (in true Rae fashion), I accidentally took two photo sets with Intense Plum and none at all with Intense Ivy. So; the inky black and bright plum today, and we’ll leave the charcoal and green for another morning.

    Swatched L-R: Clinique Quickliner for Eyes Intense in Intense Black, Plum, Charcoal, and Ivy.

    Intense Black

    The terrible thing is (well, I mean, there are lots of terrible things in the comedy of errors leading up to this post, but this one is the most relevant) that I didn’t note down any of the other products used in these photos. So don’t get too curious, because I probably won’t be able to answer your questions! ;)

    I believe, for Intense Black, it’s the highlighter shade from Clarins’ Graphites quad that I’ve applied through the lid, over translucent primer. A bit of concealer under the eyes, but nothing else on the lid, and nothing on the lashes.

    Clinique Intense Black lid swatch

    Intense Plum

    There’s an ultra-nude eye that on a pretty frequent basis, especially when testing out or photographing liners or mascaras – a look that’s very natural; almost undetectable (even on film), while still adding a bit of depth to the eye area. I’m not 100% sure, but I can say with a reasonable amount of certainty that that’s what I’ve done here. I think.

    For a look like this one, it’s just a bit of (1) primer through the lid, (2) black liner pushed into (but not above or below) the lashline, and (3, 4) two eyeshadows – a subtle highlighter on the inner 2/3, plus any brown or taupe on the outer third.

    If you don’t have a favourite nude eyeshadow combination, try these highlighter swatches for your lid shade & these taupe eyeshadow swatches to add depth! (I’ve been partial to using a matte medium brown, recently, but I’m afraid I haven’t enough shades in that vein to swatch them en masse… yet.)

    What really “makes” the look isn’t the products, but how much of them you use and how you apply them: the difference between a regular “natural eye look” and this one is just the amount of blending. Which is to say, apply sparingly and blend the crap out of everything. 

    Finish by (5) adding eyeliner, if you’d like, (6) a quick coat of mascara – always a tubing one, for me, – and (7) blending in a bit of concealer under the eyes.

    Clinique Intense Plum lid swatch

    More Quickliner for Eyes Intense coverage…

    Share:

    The quick way to get intense eyes – even on the go. | Clinique Quickliner for Eyes Intense: review, photos, swatches

    The product: Clinique Quickliner for Eyes Intense

      ↳ in Intense Black, Intense Plum, Intense Charcoal, and Intense Ivy.

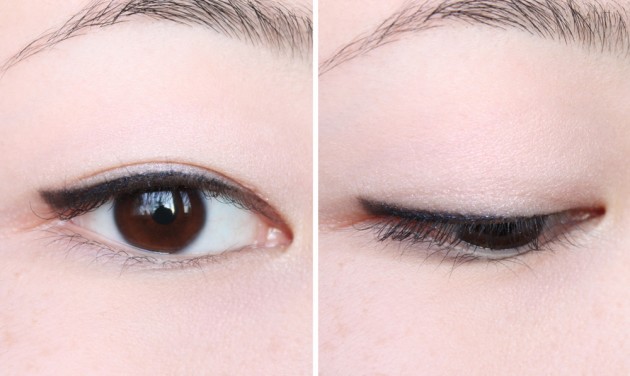
    The application: Okay, so, not the easiest pencil to get on – depending on the look you’re going for. I usually wear fairly clean eyeliner, with a bit of a wing at the end, and these are a bit terrible for that! I sort of have to get it on, then grab a liner brush, and smudge it into shape.
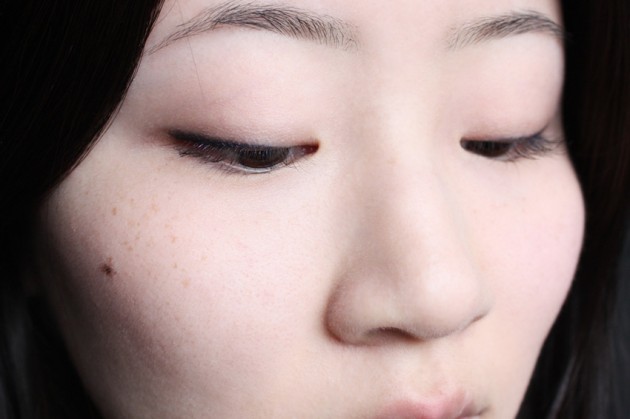
    If you’re looking for a smokey, sexy, smudgey eyeliner, though… well, look no farther. These smudge like a dream. The buttery sort of dream, which probably revolves around desserts and has a plotline worth about 1200 calories, and ends with the dreamer eating an entire cheesecake or rolling around in butter or something.
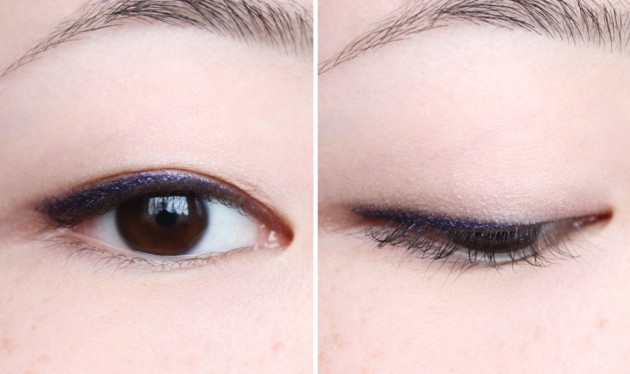
    Seriously. They’re the butteriest pencil liner I’ve ever come across, which is terrible if you’re going for a precise line, but absolutely wonderful if you’re a fan of a softer, smokier line.

    The wear: Unfortunately, the wear is the one thing about these liners that’s not up to par. With my oily monolids, I can get only five or six hours out of these before the colour starts to transfer – and that’s with primer and powder eyeshadow underneath. (For my lids, that’s about on par with other popular long-wearing liners, like MUFE’s Aqua Eyes, but definitely less than what I get with a good liquid liner.) If a liner can’t hold up for at least ten hours, I’ll definitely think twice before wearing it – even if the product’s this pretty!

    I do have really picky lids, though, so don’t write these off without giving them a go. I have actually read very positive reviews about the wear time of these, so I guess it’s another “your mileage may vary” type of product!

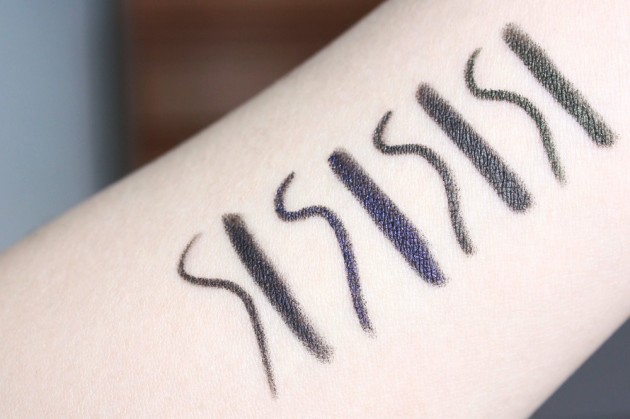
    Swatched L-R: Clinique Intense Black, Intense Plum, Intense Charcoal, and Intense Ivy.

    Indirect sunlight, no flash.

    The shades: When Clinique said “Intense,” they weren’t joking around. The Quickliner for Eyes Intense liners come in six shades, four of which are featured here – and yeah, they’re pretty damn intense. (Missing from this post are Intense Chocolate and Intense Midnight, a rich brown and a dark blue, respectively.)

    Intense Black (01) is an opaque, cream-finish black with absolutely no shimmer. Intense Plum (02) is a playfully sparkly dark violet – tons of very finely milled violet and blue-violet shimmer interspersed in a creamy black base colour. Intense Charcoal (05) is a gorgeous gunmetal grey with incredibly refined silver and gold microshimmer – think “brushed metal” rather than “shimmery”. Intense Ivy (07) is a dark olive green with gold shimmer – very, very pretty.

    Clinique Quickliner for Eyes Intense in Intense Black, Intense Plum, Intense Charcoal, and Intense Ivy.

    The packaging: Clinique has done a surprisingly clever (not surprising because it’s Clinique; surprising because it’s so perfect) job of packaging these liners, keeping the shape and function of the Quickliner Intense range, but making them different by colouring the tubes correspondingly.

    What really gets me, though, is that they’ve factored in shimmer, too: like the shades inside, the packaging of Intense Black is completely shimmer-free, while Intense Charcoal‘s tube is slightly metallic, and both Intense Plum and Intense Ivy are wrapped in shimmering colour. Talk about attention to detail!

    The verdict?

    They’re good, but… they’re not quite there yet. Clinique’s Quickliner for Eyes Intense formula is buttery, blendable, and (just as promised), really intense – but it doesn’t have the wear that I’d want out of a liner.

    I don’t want to write it off completely, though, because I do find the formula to be quite unique. If you don’t have difficult lids, these would be the perfect way to get the look (and creaminess) of a gel liner, but with the convenience of a pencil – something that I don’t feel has been achieved by anyone yet.

    Keep reading! »

    Share:

    Tips for beauty bloggers: Let’s talk curves.

    The Photoshop kind, not the body kind. (But hey, if you want to talk humans-with-curves in the comments, you go right ahead. The world could use a little less skinny ’round here! Just keep it PG-13, you hear?)

    Long story short, I’ve been working on a Clinique Quickliner Intense review, and I’m halfway done, but I’m really, really tired. So, you’ll have to wait until Tuesday for that, but this: this, you can have now.

    A sad, lonely, unedited March snowfall photo.

    The basics

    This isn’t actually an in-depth curves tutorial; rather, I feel like I need to periodically remind people that they exist. They’re ridiculously easy (and ridiculously handy), and can be used in anything from vignetting, to increasing contrast and brightening up photos, to doing that hipster-faded thing.

    Curves – brighter (think of it like a screen layer), darker (think of it like a multiply layer).

    Unless you’ve gone and inverted your axes, pulling the curve upwards is going to add brightness, an S curve is going to increase contrast, and pulling the curve downwards will increase shadows. Dragging the endpoints inwards will add a more harsh change; think of it as brightening or darkening the shadows, rather than the midpoints. A curve in which the lower point is farther from the x=y line than the upper point will decrease contrast, doing that old-photograph thing that people seem to be into at the moment.

    Curves – more contrast; less.

    Keep reading! »

    Share: