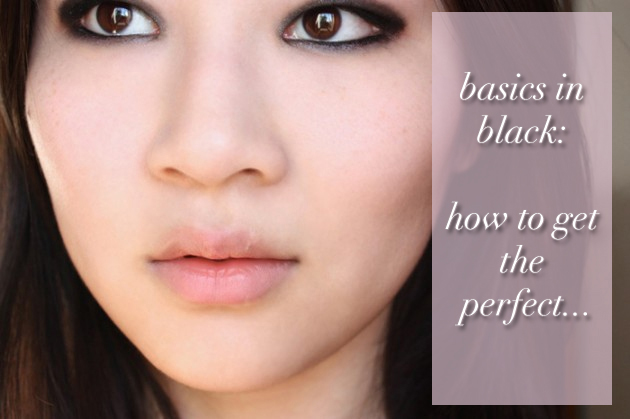
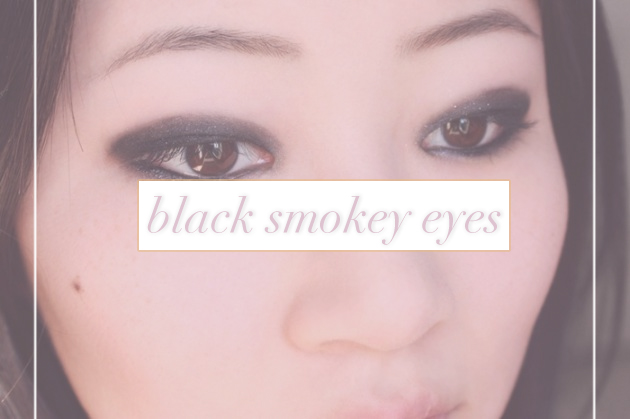
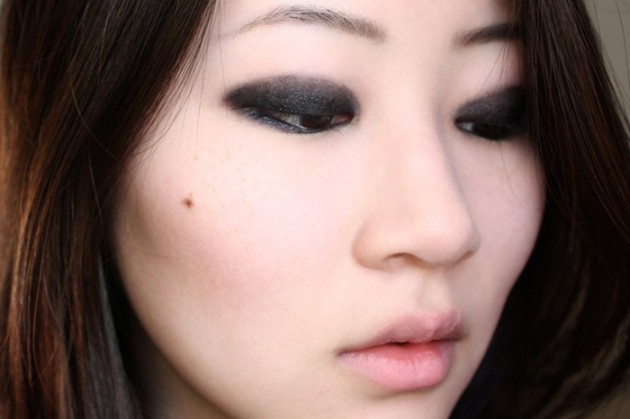
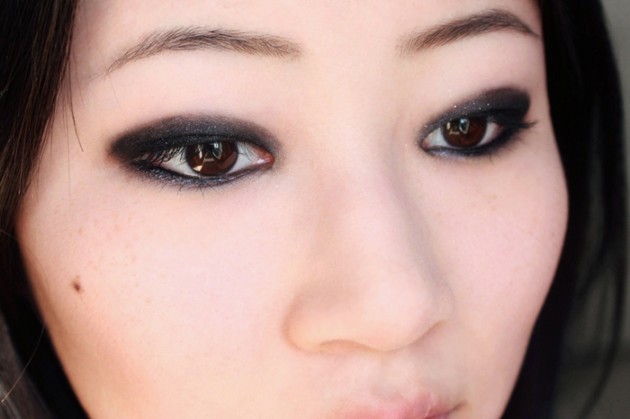
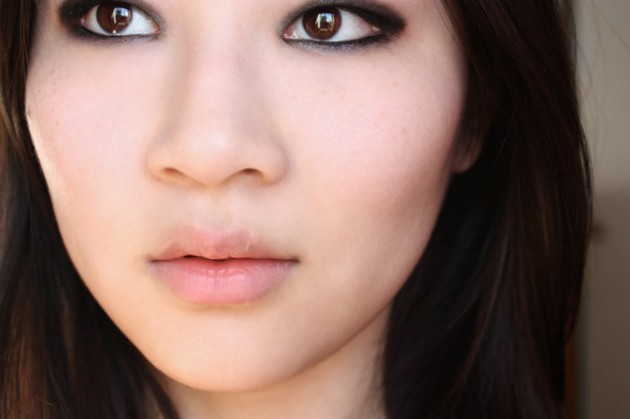
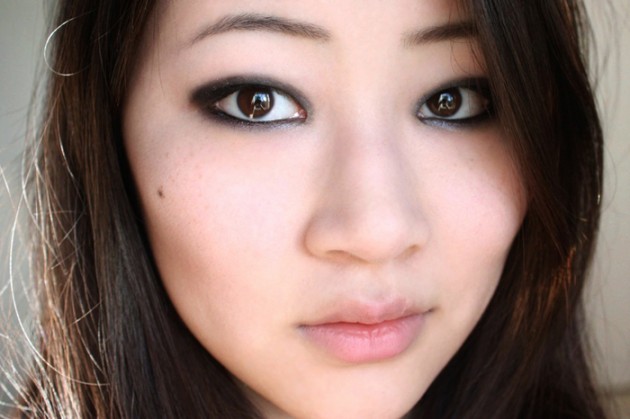
I warned you that there’d be a lot of this black smokey eye this month, but I promise — this is the last post focusing on it! I really loved the look, though, and I wanted to share a step-by-step how-to before leaving it behind and moving on.
It’s a really high-impact look that’s surprisingly easy to do, so keep reading for all of the tips & tricks that’ll give your smokey eye that extra oomph.
(Holy crap, I just realized that contouring is like a push-up bra… for your face. I never anticipated needing to use these words, but: I have to tweet this.)
A smokey eye tutorial with an extra edge
[ What does it even mean to “have edge;” is “edge” actually a thing that you can have? And if it is, is your worth determined by the number of edges you have, or is edge a singular entity of varying size? Is this all just a muddy anecdote having to do with metaphorical sharpness? ]
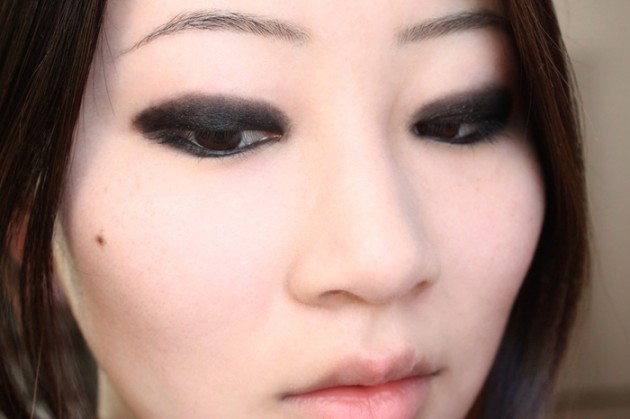
Start off the look with a black cream base, applying it quickly (before it sets) but not worrying too much about the edges. I used an Annabelle SmudgePaint in Glitzy Black, LE this fall — the creamy texture and solidly-setting formula make it a great choice for a smokey eye, and the intense black-plus-shimmer shade made it perfect for this look.
(Make sure you get it through your lashes, too, or the final look will end up more crazy than classy.)
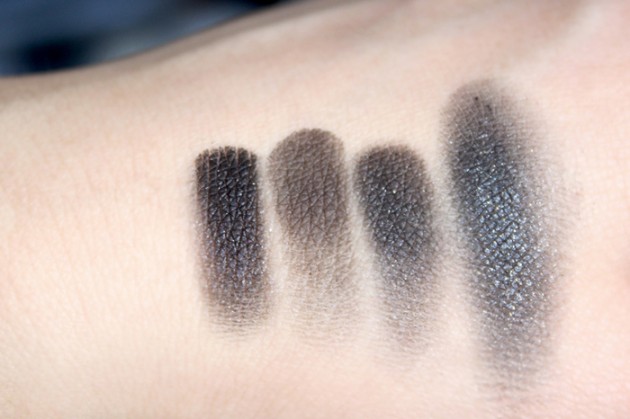
You’ll need to follow up with a shimmery black powder eyeshadow (or a black eyeshadow and a shimmery one, separately,) so I swatched a few different products and picked the most intense.
From L-R, below: (1) NYX Eyeshadow in Black + FaceFront Artistic Pigment in Silver Fox; (2) the black from Clarins’ Mineral Eye Quartet in Graphites; (3) FaceFront Pressed Eyeshadow in Printed + Artistic Pigment in Silver Fox; (4) MAC Pigment in Dark Soul.
I could have gotten a better shimmer density with Dark Soul, but MAC pigments are so finicky to work with — and I didn’t want the look to be all bark with no bite, you know?
I ended up using NYX’s black eyeshadow (ridiculously buttery and pigmented, for the price) layered underneath FaceFront Silver Fox, but we’ll deal with the shimmer in a minute. First, just take the black eyeshadow overtop your cream base, using it to give shape and blend out the cream liner’s harsh(er) edges.
From there, pull the black eyeshadow through your lower lashline, take a step back and re-evaluate: it’ll change how your eyes are weighted, visually, and I often find I have to go back and add height to the eyeshadow on my lids at this point.
Follow up with black liner along your waterlines (if you used a shimmery base, swap it out for something with a cream finish), then move on to filling your brows. Pick something with a bit of a cooler tone, and don’t be afraid to mix a bit of grey into your usual shade to get the right shade!
Finally, use a flat eye brush to pat silver shimmer just overtop the black, not straying beyond the area. Highlight the browbone with a matte-finish eyeshadow, and make sure to clean up and conceal the undereye area well.
Like, really, really well. You need to be as bright as freshly fallen snow, no matter how many different products you have to use to get there.
(I used three: a concealer, a brightener, and a yellow colour corrector that I blend en masse on my own. It’s a pain in the arse to get right, but it’s my holy grail undereye fix-it — no circle, no matter how dark, can penetrate it.)
Curl your lashes, add mascara, and finish the rest of your face. I know you guys know how to do the rest of this already — and, honestly, you can take the look anywhere from here. This is my no-fail technique for a black smokey eye, but a lot of it translates into other colours, too; if you’re going with a single-colour lid, the process doesn’t really change much.
I mean, obviously, if you’re going to take this tutorial and maul it with traffic-pylon orange eyeshadow and loose purple shimmer, I’m going to be angry. But it’ll still work be functional, is the point. Even though it’s going to break my heart and make a lot of people want to punch things.

