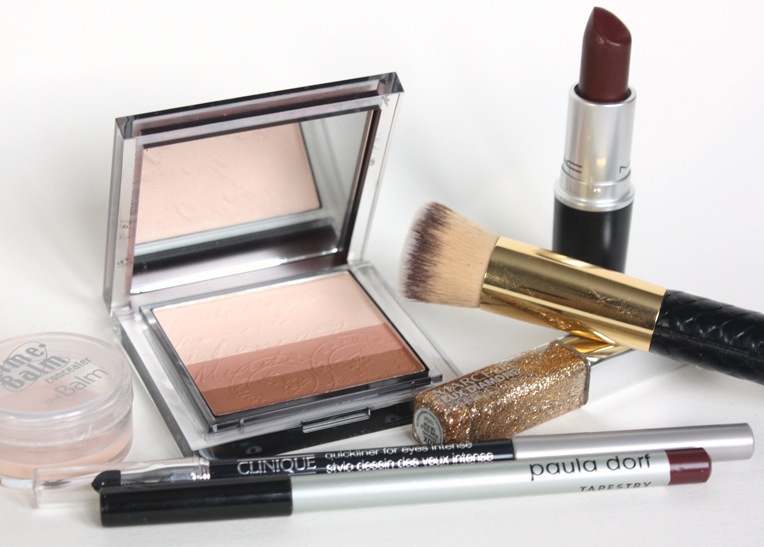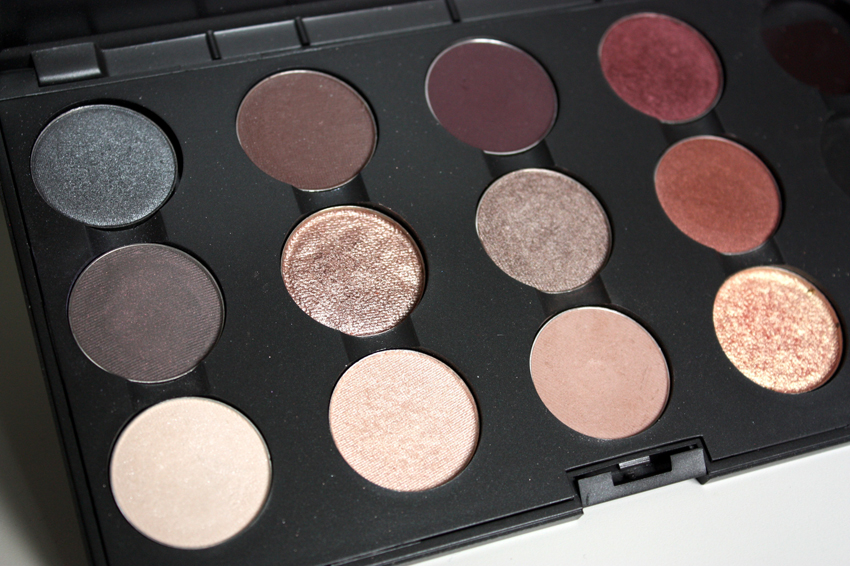
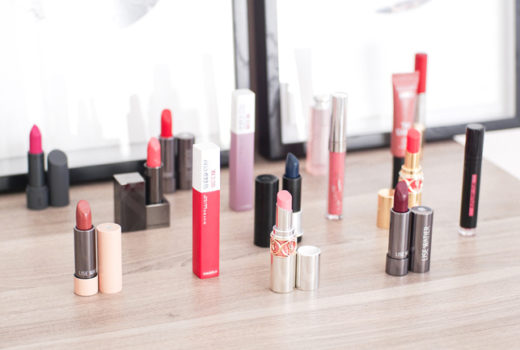


This one doesn’t need too much of a write-up, but I thought I’d take a minute to talk about some of the products I used to create the look — just a couple thoughts; not full reviews. (I have photos for the full posts, but this might do the trick! Let me know if you’d like to see swatches of anything specific; the only product I know for sure will be going up on its own is the Clarins powder.)
(Because it smells like deliciousness.)
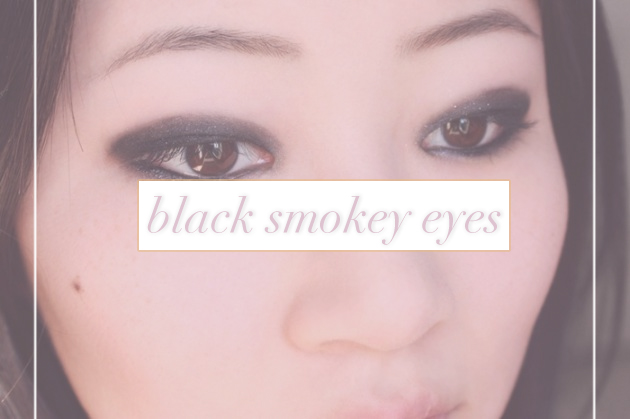
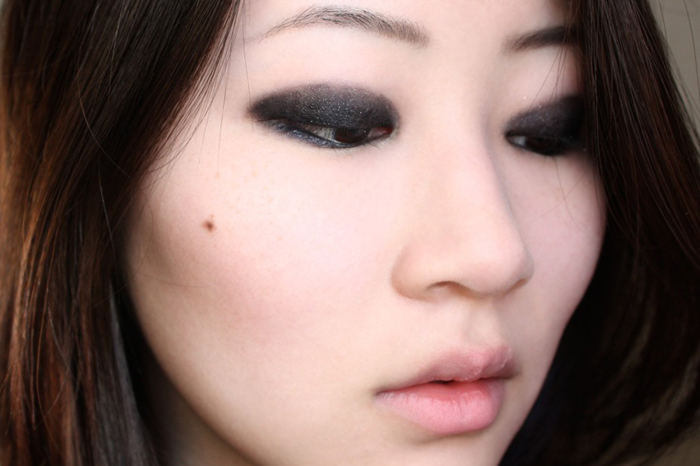
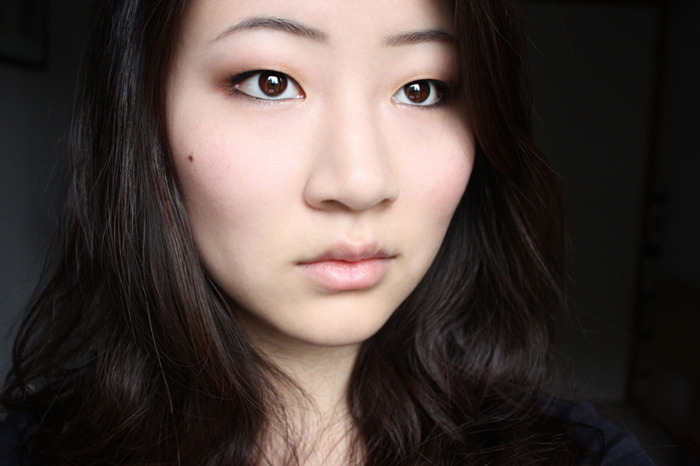
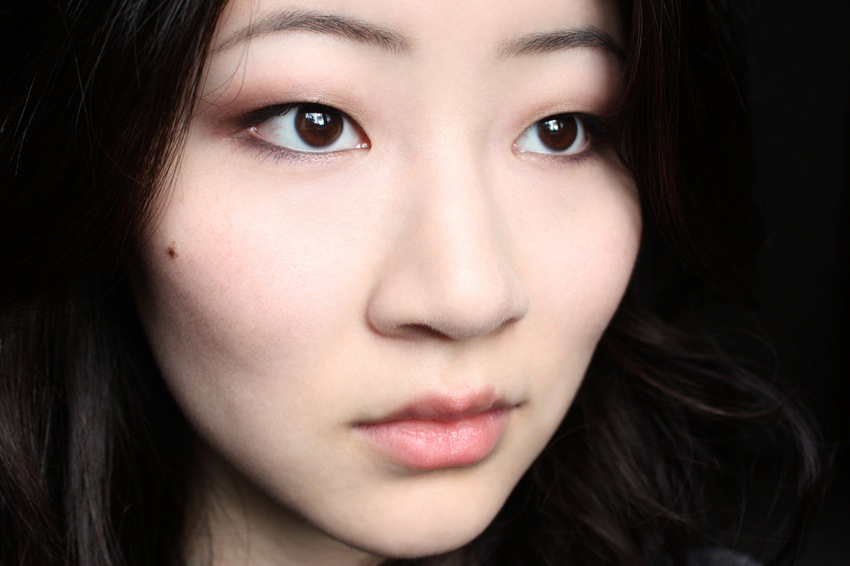
Don’t miss this post on She Said Beauty for the tutorial that goes along with the photos!
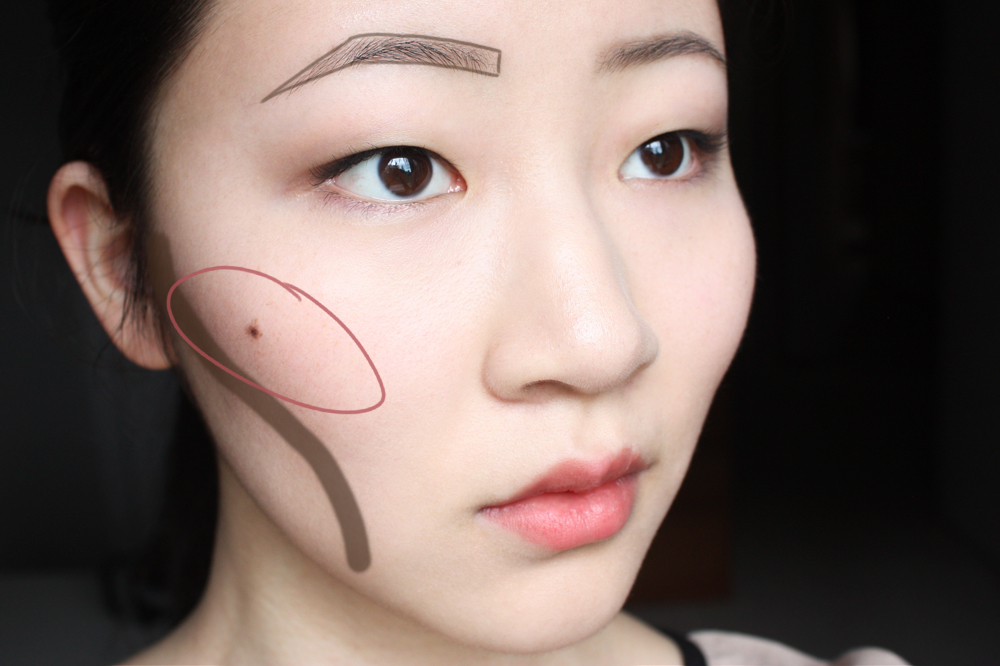
I started with the skin; theBalm timeBalm concealer ($18), which I’ve just bought a backup of because I finally hit pan on mine. It only took… what, like, three or four years? I’ve been using it densely to cover up spots, but also blended through the undereye area and around the nose/chin, where skin tends to read a little dark.
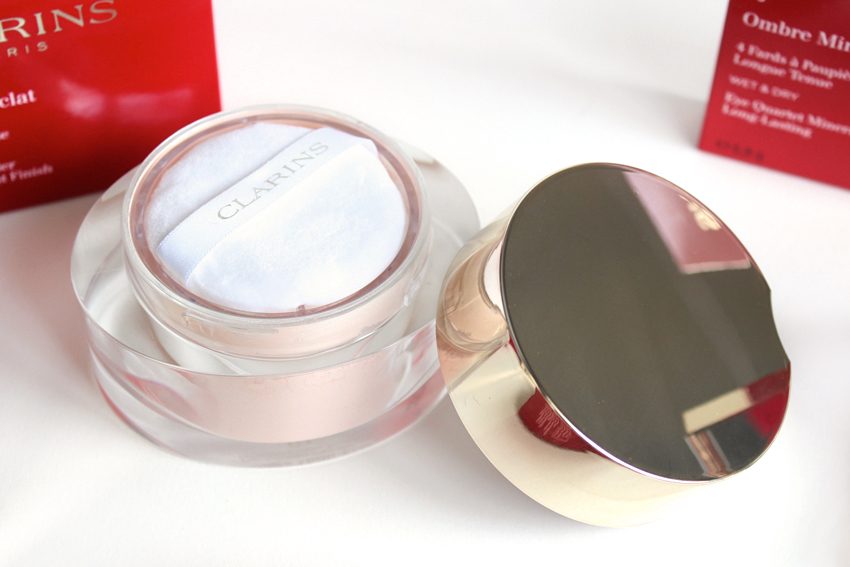
Then, for a bit of shape, I adde the Clarins Palette Eclat Face & Blush Powder ($35) (from the Rouge Eclat collection) as a blush — this smells amazing, and the amount of pigment is fantastic, particularly from the strips of colour.
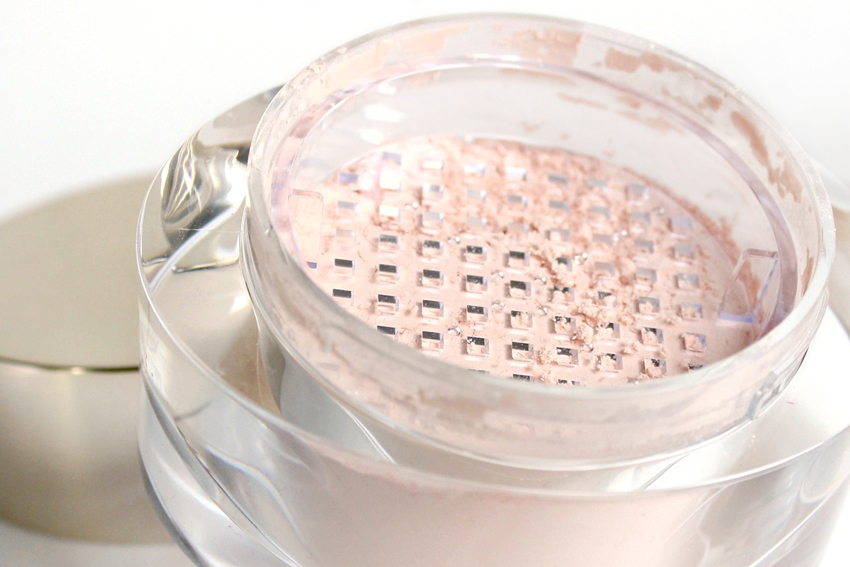
Keeping with the Clarins Rouge Eclat theme for my skin, I tried out their Clarins Poudre Multi-Eclat Mineral Loose Powder in 01 Light ($35), patted on lightly with the included puff and blended in. I know this one promises a luminous matte base, and it definitely delivers on the latter part, but I think I prefer a luminous sheen finish when it comes to glowing skin.
The Mineral Loose Powder gets points in my book for following through on matte promises, and it does wear very comfortably and smoothly, but I feel like the shimmer is just too sparse and obvious for my preferences (not to mention, my super-dry, pale skin). If you want a glow but have an oilier skin type, perhaps!
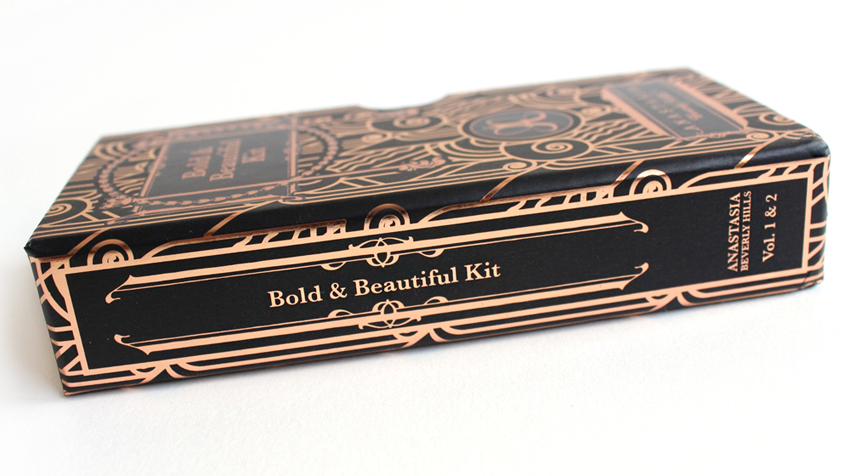
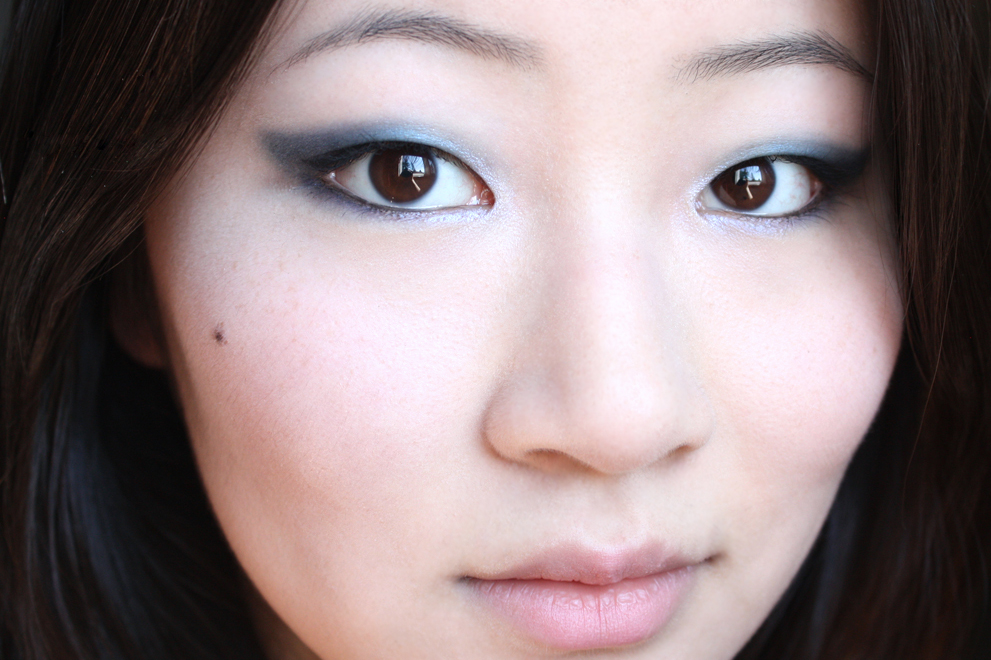
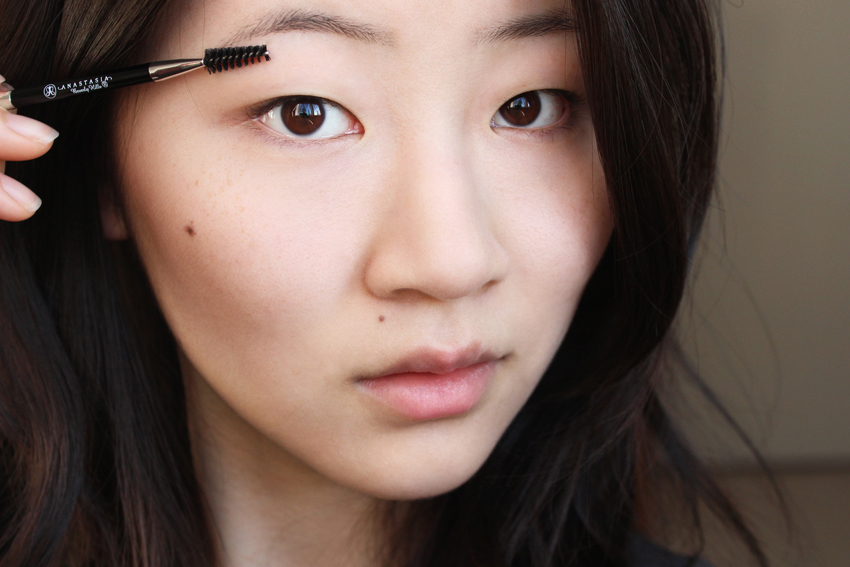
Finally, the star of this look: Anastasia Beverly Hills Bold & Beautiful Kit ($36). I used only Vol. 1 Bold Brows (there are two palettes in the kit, the other for eyes), and I liked the slim profile and easy-to-use products.
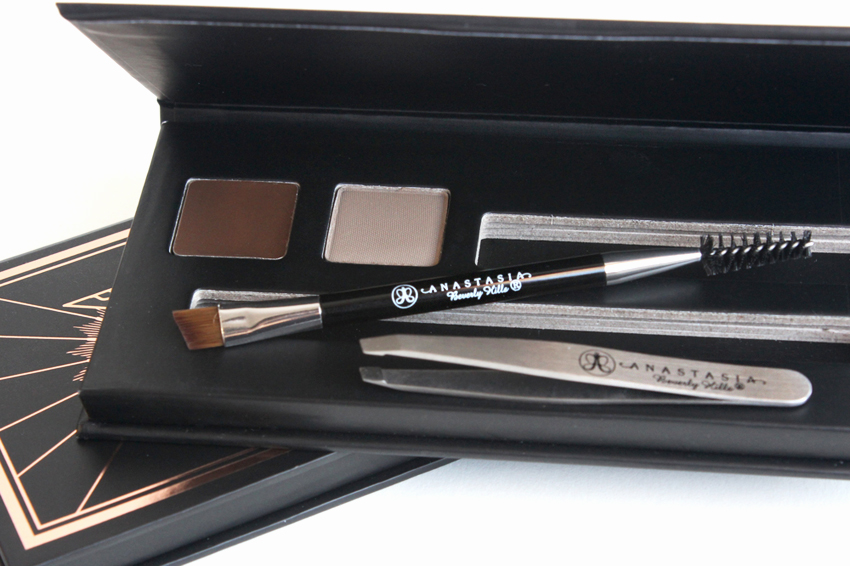
I think the brunette shades are a little too warm for Asian hair/skintones, but I’ve been using this lightly through my brows with an added hint of grey for just the right shade. Anastasia is famous for brows, and the “why” is obvious here: the slightly-ashy powder and warmer brown mousse are very, very versatile, and I can see them working well on both warm- and cool-toned skin with dark blonde to brown hair.
I liked that the palette (despite its small size) includes some more-than-decent mini tweezers and a dual-ended angled brow brush/spoolie, too — literally everything you’d need for your brows on a night out or a week away.