The Photoshop kind, not the body kind. (But hey, if you want to talk humans-with-curves in the comments, you go right ahead. The world could use a little less skinny ’round here! Just keep it PG-13, you hear?)
Long story short, I’ve been working on a Clinique Quickliner Intense review, and I’m halfway done, but I’m really, really tired. So, you’ll have to wait until Tuesday for that, but this: this, you can have now.
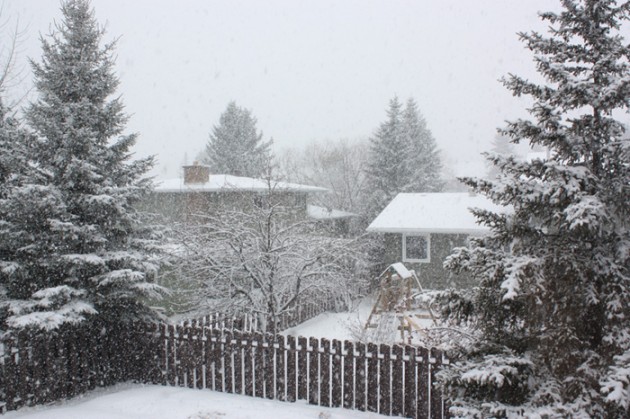
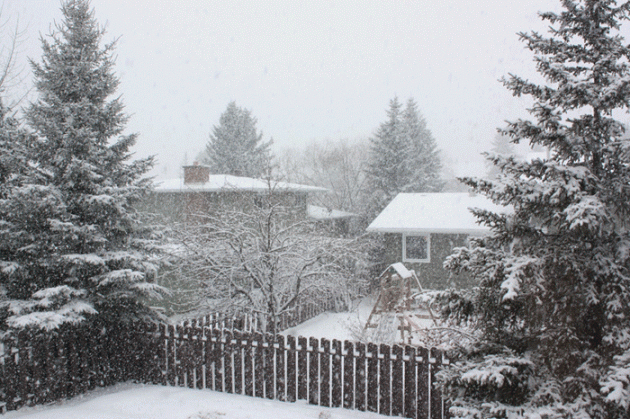
A sad, lonely, unedited March snowfall photo.
The basics
This isn’t actually an in-depth curves tutorial; rather, I feel like I need to periodically remind people that they exist. They’re ridiculously easy (and ridiculously handy), and can be used in anything from vignetting, to increasing contrast and brightening up photos, to doing that hipster-faded thing.
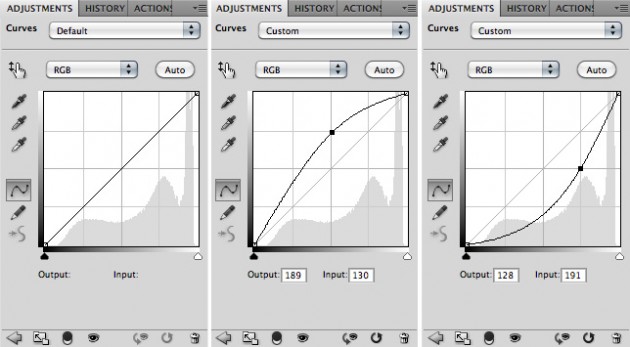
Curves – brighter (think of it like a screen layer), darker (think of it like a multiply layer).
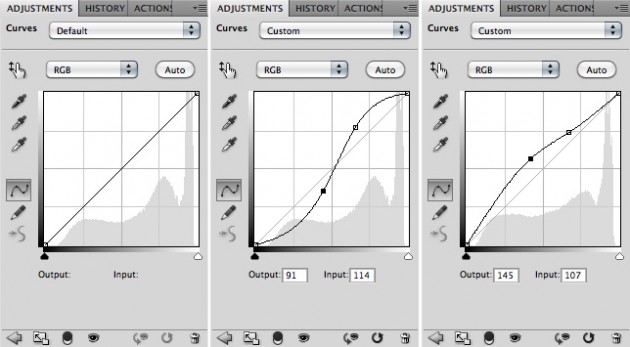
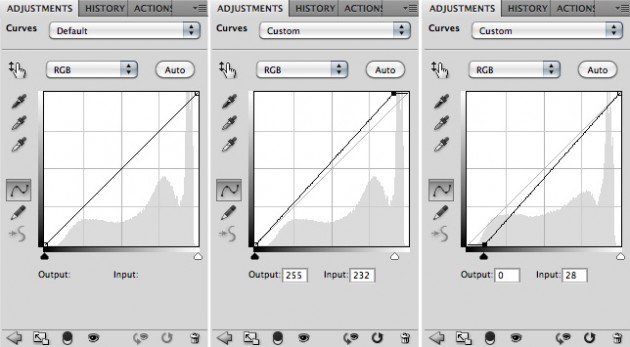
Unless you’ve gone and inverted your axes, pulling the curve upwards is going to add brightness, an S curve is going to increase contrast, and pulling the curve downwards will increase shadows. Dragging the endpoints inwards will add a more harsh change; think of it as brightening or darkening the shadows, rather than the midpoints. A curve in which the lower point is farther from the x=y line than the upper point will decrease contrast, doing that old-photograph thing that people seem to be into at the moment.
Curves – more contrast; less.
Curves – pronounced hilights; pronounced shadows.
Have a go at it; play around. The great thing about digital manipulation is that all of it can be undone, after all! And don’t think that you ever have to use all of one curve – feel free to lasso a selection, feather the edges (or not), and just add a curves layer where you want it.
So: here’s four variations of the photo at the top of this post. Edmonton’s being a bit temperamental this Spring (not going to lie; I kind of love it), so here’s what a few different curves layers can do. (It was a bit hard to see the differences when they were all just sequential, so I went and turned it into a gif. Each is on a two-second delay, and there’s only four frames, so don’t stare for too terribly long!)
(Seriously, guys. Nothing much to see here, just a fantastically depressingly snowy scene.)

