


Did you know that around 35% of computer users browse the internet on Chrome? And in some cases, of that 35%, exactly zero are viewing the same image that you spent so long getting internet-ready: Chrome doesn’t fully colour manage, and there’s no add-on or extension you can download to get it to do so.
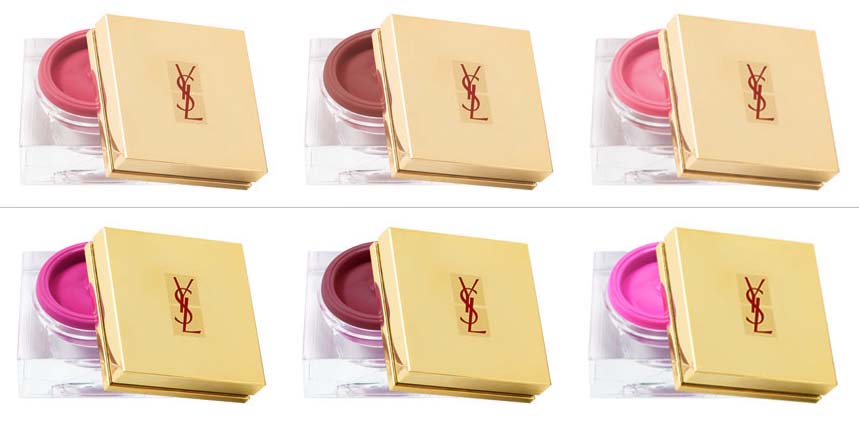
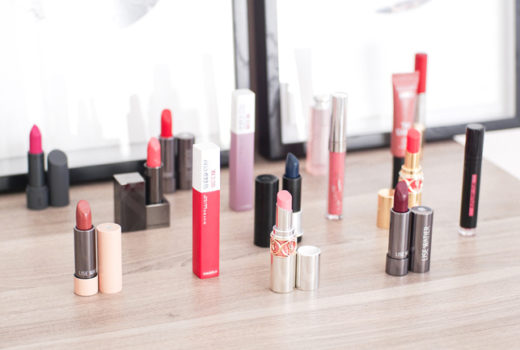
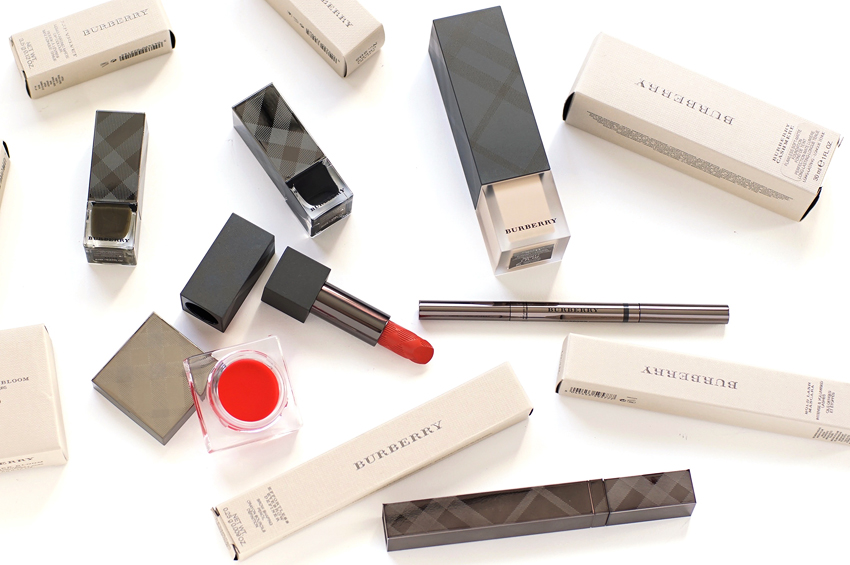
Above image: a Chrome-friendly rendition of YSL’s Spring creme blushers
Below image: what happened the first time I uploaded this image to theNotice!
There’s no perfect fix for this problem, I’m afraid, but it’s a good thing to keep in mind. Colour management lets users see more or less the same colours in an image despite differences in colour profiles, devices, etc., so when a fair few of your readers are seeing something totally different from what you’re seeing —
Well, you might want to double-check your colour settings when you save!
—