I had fully intended to make a larger lightbox (and create a tutorial with it) when I realized that, well, there’s simply no need. I don’t actually use my lightbox as a lightbox – moreso as a backdrop than anything else – so I figured, what the heck, right?
Anyhow. I’m calling it “The Infinity Effect,” because that’s what it’s for and I’m dazzlingly uncreative.
Choose a lightbox if: you want something that can be set up with artificial lights
Choose the infinity effect if: you want to shoot larger objects, you want something very low-effort, or you always shoot in natural light
1. Gather your materials.
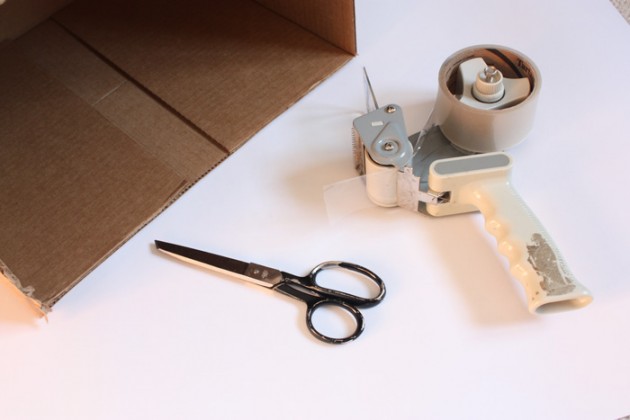
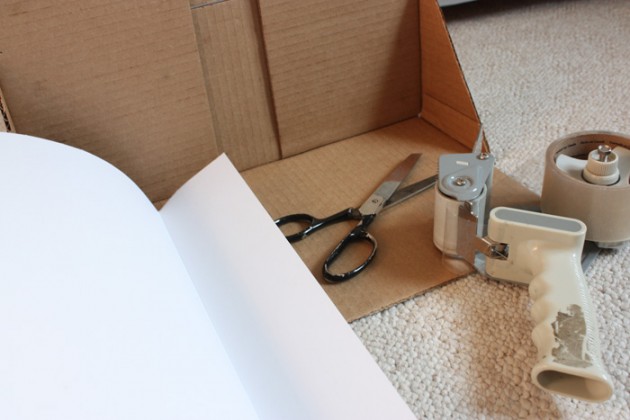
That is: a box, a large pair of scissors, a pen or pencil, packing tape, and white (or black, or grey) bristol board.
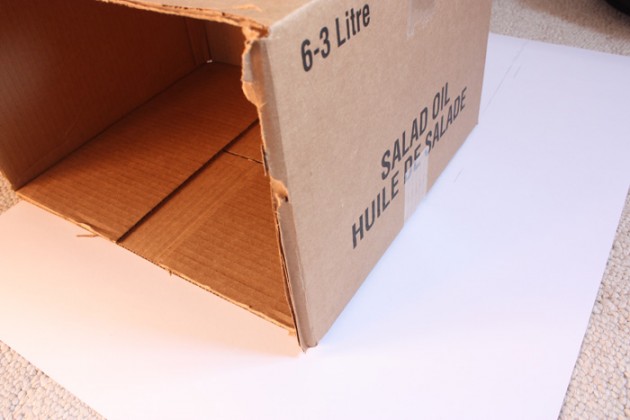
The box doesn’t have to be anything fancy, though you could certainly choose a more aesthetically appealing box if you wanted! I’m just using a canola oil box from the market – want not, waste not, right? If you haven’t any packing tape, feel free to use plenty of scotch or masking tape instead, or even just liberal amounts of glue.
2. Prep the paper
You could use a ruler to draw in your lines, but I find the easiest way is just to use the side of your box. Line it up with the edge of the bristol board, then slide it about a half-inch off the paper (to account for the thickness of the sides), and pencil in the line. Flip the box onto the next surface (side or base) to get an idea of the length, then add a few inches – you’ll want to account for fold-over on the edges.
I don’t need to tell you how to cut the line, so just… don’t run with scissors, you hear?
3. Prep the box
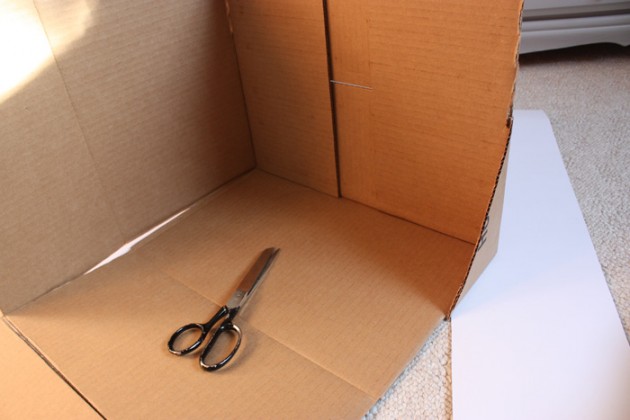
You’ll only want your box to have a base and one wall, so cut away the rest. Leave just a small triangle in the corners where the base and wall attach, with each side of the triangle at about 1/3 of the total length of the side it’s attached to.
4. Set the paper
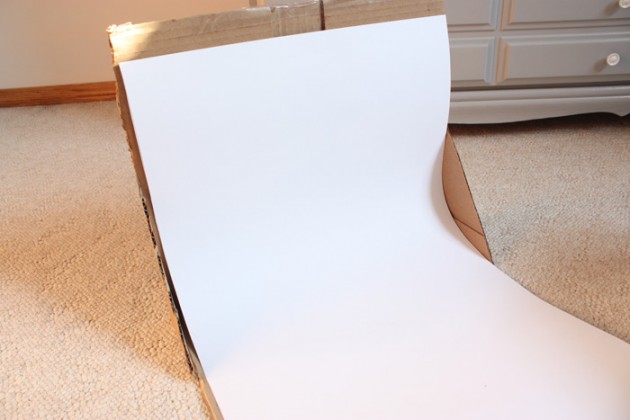
From here, it only gets easier (which is a little crazy, seeing how simple this project has been thus far!) Make sure your paper’s not too wide for the box, and trim if it is.
5. Fold your edges
The folding isn’t actually all that necessary, seeing as you could just tape it to the front of the surface, but having the tape on the back does give you an extra inch or two of shooting area. So, if you’d like, fold the paper over the top and bottom, crease, and secure with tape.
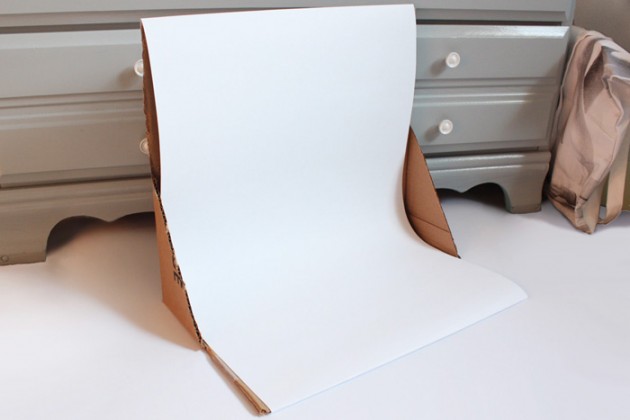
The finished product
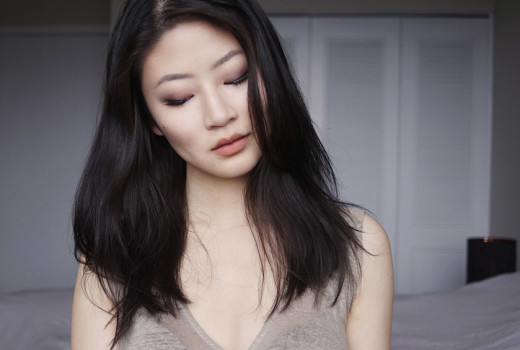
It’s not much, but it’s all I needed! The “infinity effect” (that is, the creaseless backdrop for a photo) adds a really clean, polished feel to photos, and it’s just so easy to do.
I hope you’ve found this to be helpful, and please feel free to ask any questions you may have in the comments! I’ll post comparison photos sometime tomorrow (lightbox photos vs. infinity effect photos), so stay tuned.
Cheers!

