
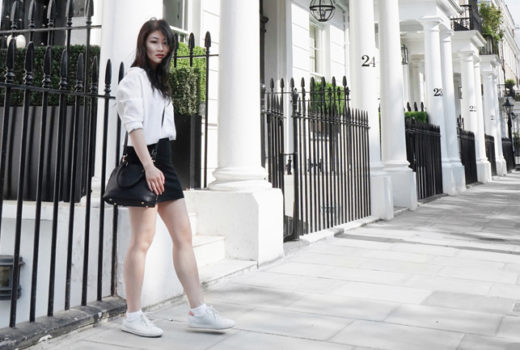


So you got to see the final product on Saturday, as well as a “transformation” of my eye to a Colour Ready-esque eye. And now? Well, I promised a step-by-step breakdown… so here it is!
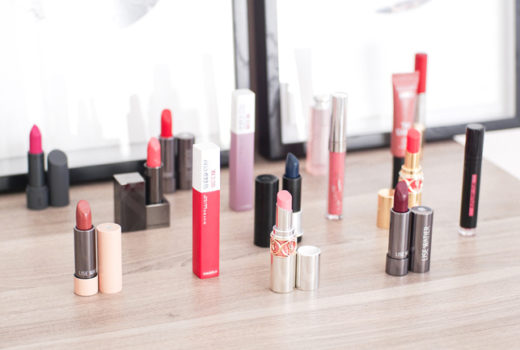
Materials
Assorted
MAC Studio Finish concealer in W10 (disc)
TBS Camomile Makeup Remover
Water, in a spritzer bottle, to dampen brushes
A mirror!
AS Dark Brown brow powder
AS Brow Set… gel… thingy…
Eyes
UDPP
MAC Hazel creme liner (disc)
Senna Glo Green e/s
Senna Snow e/s
Senna Blue Note e/s
Imju Fiberwing mascara
Rimmel Lycra Lash mascara
Lash curler
Jordana Quickiner in Tahetian Blue e/l
GOSH Pretty Petrol e/l
L’Oreal HIP Creme Liner in Black? Noir? I don’t know. But it’s black.
MAC So There Jade e/l
Brushes
Random assorted ones. The ones with the brown ferrules are Aura Science, the black one that will be used for the Hazel liner is a Senna brush, the liner brush is from Costal Scents, the mini brush is adesign, and the white headed one is MAC’s 217, which is LOVE. As is the AS with the small, domed tip (kinda like the tiny super-soft super-dense lovechild of the 217 and the 219. We shall call it the 218! … just kidding. Sorta.)
Man, that was a longwinded paragraph!!
Workstation – my mirror, on books, natural sunlight, and a tripod! Plus a mess… I took this at the end, and left any used products on my table, so that I didn’t miss any!
1. Prime and conceal. You’ll need super-flawless skin for this look, so I skipped over foundation and used concealer instead for a perfect, albeit heavy, base. Make sure you’re using a brilliant primer, as your colours need to be BOLD!

2. Use a clean brush and push it into your crease.
3. Create dots where your crease is. An automatic or very blunt pencil works wonderfully for this, as you have to “push in” to some extent ot find your crease! Hold the fold you made in step 2 and “insert” the pencil. Repeat.
4. Next, I “connected the dots” with my GOSH liner, as it was too dark and the previous liner was too light. Notice how I switched subjects, from “you” to “me? Yah… this wasn’t a real step, per se, just a step I added because I wasn’t happy with what was going on up there. Whoo!
5. Blend. Smaller brush = smaller line!
6. Create a base, from your lashine to the blue line. I’ll be layering another liner on top of this, because I wasn’t happy with the shade or finish… or anything like that…
7. Blot on the second base – MAC Hazel creme liner – so that you don’t “wipe off” the first. 
8. Blend the two base layers.
9. Layer a green eyeshadow on top. The only one I had was Senna “Glo Green”, which was a little too dusty and shimmery (okay, it was TOTALLY OFF) but as I said – I don’t really wear green, so it was the only option!
10. Blue line time! Take a small brush (I probably would have been better off with a pencil brush, or even a clean lip brush) and layer a dark blue on top of the line you made earlier. Smudge.
11. White -> inner corner and brow bone. Matte, if possible, and white-white! This is where I took “creative measures”, aka “improvised because I don’t have any matte whites”. I used a combination of W10 concealer, Senna Snow, and Lancome Créme Lusre if I remember correctly…
12. Set and fill brows. Not in that order.

13. Line your upper lashline. It should follow your entire eye, but be much thicker on the outer edge! Gently wing, but not noticably – just so that you don’t have a sudden harsh ending. The “wing” should follow your natural line and taper.
14. Line the lower lashline, fading out as you move away from your lashes. If you have a very pink/red waterline, you could go over it with a white pencil right now! It would be really hard to insert the photo at this point, as there are… 14? above this point, so click here to see what my line looked like on a closed eye! (Fellow bloggers using… Blogger… you get what I mean!)
15. Smudge the remaining bit of product into your blue line for a bit of emphasis and a “crisper” line.
16. Curl lashes (my curler? $1.50 at Daiso. It’s a dream for Asian monolids!)
17. A couple coats of Rimmel Lycra Lash for length, volume, and “glamourous lashes”…
18. A coat or two of Imju Fiberwing – I want ’em long and slightly clumped, and this is great at that! Put the lash comb down, girl! It will not be needed. note: Rimmel Lycra + Imju Fiberwing +”pushing method” (see below) = HOLY FRIGGIN’ GRAIL lashes!
19. Finally, push your lashes when they’re still damp. By “push”, I mean “push them as if they were springs, and hold until dry.” Why? Well, I find it’s the best way to get a gorgeous, even curl, post-mascara! You just lightly push the ends to curl the lashes and hold for 5-10 seconds.
Done!

