


I’ve been tackling more reader requests than usual this year, and the most recent one to come up is all about images. It’s hard to figure out your camera setup when you’re starting blogging—I mean, I still struggle with mine every day. Here’s what I currently consider to be the best camera for blogging (plus assorted other tips). My caveat? These recommendations are for bloggers like myself: ones who don’t have a big budget and don’t know all of the super-technical camera things.
There are tons of other options that are better, bigger, or more expensive, so don’t consider this post to be the be-and-end-all. It doesn’t contain any shortcuts, and there’s no magic bullet when it comes to photography: you really do just have to get in there and figure out what light setup works for your space; what lens is best for your style; what angles are the most flattering for your body. These are simply the things that are working for me right now, with tiny hands and a uni budget!
⇒ Just starting out? Make sure to check out my other posts on beauty blogging, too.
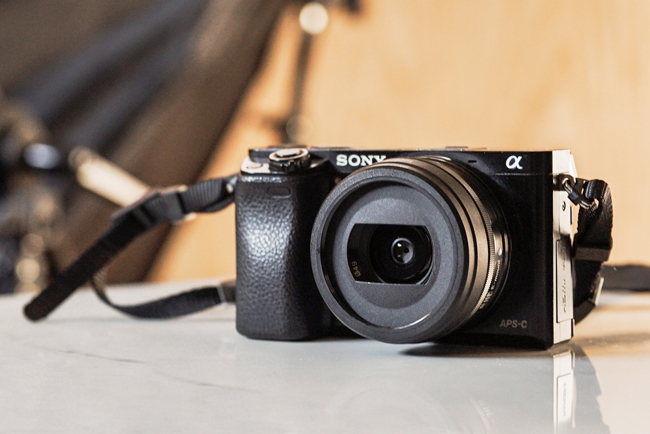
The best camera for blogging: Sony a6000
My main camera is the Sony a6000. I love this little guy for its small size, solid build, and tiny price tag. It’s extremely sturdy, and because of its mirrorless build, its significantly smaller than most entry-level DSLRs (lookin’ at you, Canon and Nikon.)
It can be a little tougher getting into Sony photography if you’re looking to second-hand most of your lenses, but their market share has been rocketing upwards in the past few years. The a6000 (24MP) is great for most blogging, including simple video work. Alternative models are also great: the a6100 is a little more updated, and the a5100 has a flip-up selfie screen.
Why I chose to go with Sony over Canon or Nikon: The camera body is smaller and lighter, and the dials and buttons are easier to spin and press. More of the camera seems to be customizable through the menu, and Sony’s wireless capabilities were slightly ahead of the curve when I purchased my first a6000 body in 2014. (Holy crap, 2014 and this is still everyone’s go-to entry-level model.)
It’s easy to transfer shots to your phone through WiFi, or to use your phone as a remote screen and trigger. Additionally, Sony’s autofocus speed is out of this world—especially compared to Canon, which is still slow as balls despite more than halving their autofocus speed in the last five years.
I also really like that Sony cameras charge via micro USB, which helps to reduce the cost and streamline your work kit.
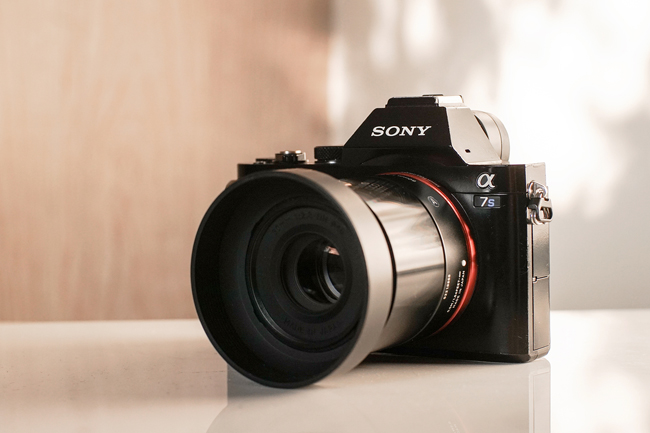
Full frame Sony a7 alternatives
I recently purchased a secondhand Sony a7s to step up the video quality of my freelance work. Mine needs some rehabbing (it was an awesome price, but the body and LCD are in rough condition), which I started last weekend by patching over some of the scrapes with black varnish. (It’s Burberry, bitches.)
Sony’s a7 line is their full frame mirrorless option, so the sensors are larger than those used on the a5100 or a6000. You’ll find that you get higher quality images, a body without a built-in flash, and a wider field of view due to the larger sensor. I honestly think that an a7 is overkill for a small blog: the APS-C cameras (a##00) are more than high enough quality, and I wouldn’t have purchased one at retail price.

B&H has a really simple graphic (above) to help you choose between a7 bodies, if that’s something that interests you. Essentially, the a7 iterations (24MP) are the best all-around cameras; the a7Rs (36MP) are the best for professional photo work that needs to be extremely high-res; and the a7S (12MP, and no, that’s not a typo) somehow shoots in 4K with a max ISO of a truly insane 409,600.
Normal, for the record, is 25 000 or lower. I most frequently shoot on manual at 1/125(ish), f2.8, and ISO 400.

The best camera lenses for blogging: My current favourites
» Note: All Sony E-mount lenses will fit on all Sony E-mount cameras (so, the entire a/alpha lineup). However, lenses designed for APS-C sensors will carry over the cropped frame. In other words, lenses made for the a6000 are cropped even on the a7 body, while the inverse is both a) not true, and b) irrelevant, because the a6000 sensor is too small to catch all of the data anyways.
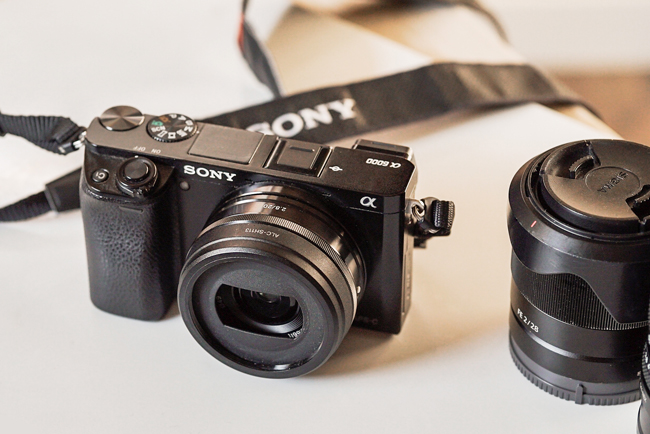
I most frequently use the Sony SEL-20F28 E-Mount 20mm F2.8 Prime Lens (for wide-angle) and the Sigma 60mm F2.8 DN Art Lens (for portraits and product photos). The quality of the portrait lens is way better, as wide angle lenses distort the image so much, but it’s nothing to write home about. For walking around and taking photos on the go, the 2.8/20mm is awesome — it’s a pancake lens, so it’s very small and easy to carry in a purse.
If you’re on a really tight budget, another great alternative is to use an adaptor with old film lenses. My go-to is a 1.7/50mm Contax lens with beautiful Zeiss glass — search for the Carl Zeiss Planar T* 1.7/50 F1.7 50 mm F/1.7 Contax Lens and a C-Y E-Mount adaptor if you want something similar, and make sure to opt for the higher-quality Japanese version. It’s still my favourite lens (so smooth! So creamy!), but because it’s a manual focus lens, it’s a pain to use if there’s a chance that anyone else is going to take a photo of me.
Lighting, staging, and editing
Okay, so here’s the thing: when I bought a MacBook Air, I didn’t realize for years that its screen looked like utter shit. I couldn’t figure out for the life of me why all of my blog photos looked so bad all of a sudden, and I couldn’t have been bothered to figure it out.
My partner bought me a new monitor last year, and it totally blew my mind. My image quality went up overnight, and I went right back to that happy place where I used to exist when I had a MacBook Pro. (The monitor is the Asus Designo, and it’s great, but I do still desperately miss having a glossy screen.)
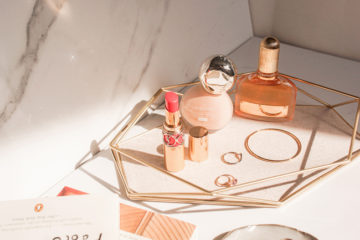
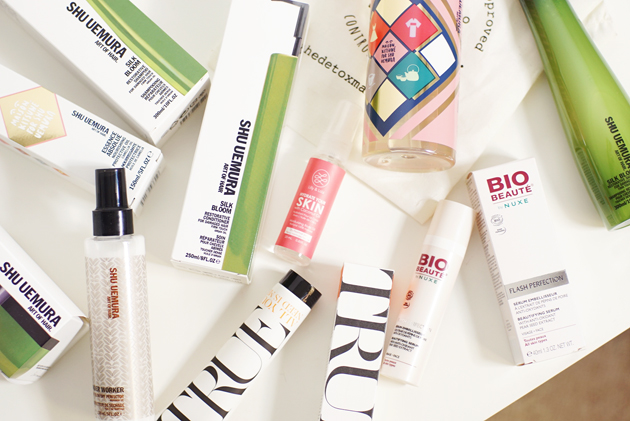
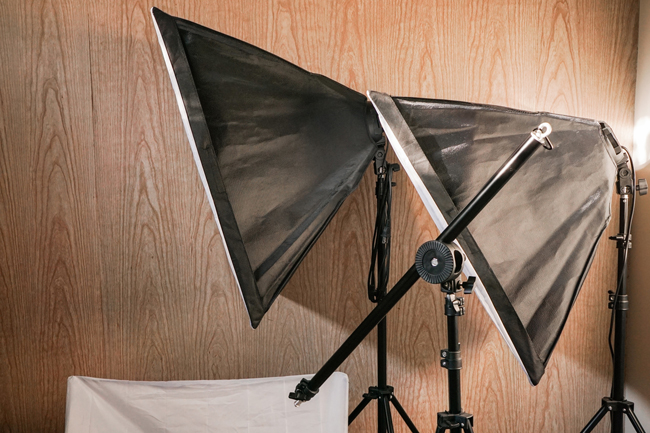
I stage most of my images nowadays on re-used tile pieces, shot in indirect sunlight with a single white bounce board. Some video content is filmed with studio lights. Each image is processed first in Adobe Lightroom with presets that I’ve made myself, and then tweaked in Adobe Photoshop (both cracked) using a very, very old Wacom Bamboo tablet.
(I’ve tried to replace the tablet many times over the years, and it’s really not worthwhile. Wacom’s new entry-level models are incredibly laggy, forcing consumers to drop at least a grand on a decent tablet. I’m not here for it.)
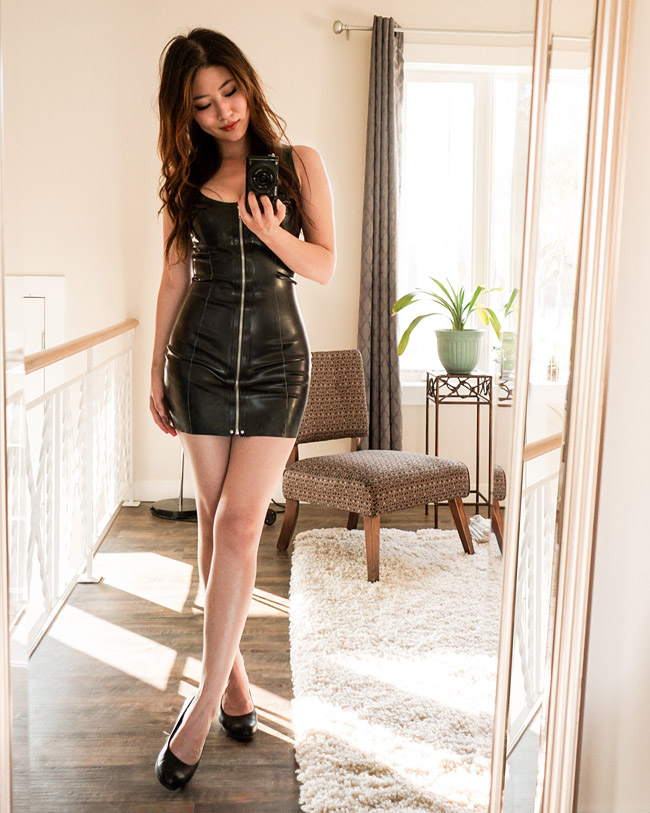
Make sure to buy a microfibre cloth and some Windex (I prefer Method Glass & Surface, which is biodegradable) if you’ll be shooting in mirrors. Microfibre has a high environmental cost, but it does the best job of getting glass super clean!
What I could do better
I need to watch way more video tutorials on YouTube. There’s definitely huge things that I’m missing, especially when it comes to using the Adobe suite—I mean, I just found the clarity slider like two months ago. I’ve been doing this for thirteen years.
I also really find that I struggle with staging products, as I started blogging in a time where a bright, white background was the peak of all things respectable. It doesn’t fly in today’s Instagram age, and as a result, my grid game is pretty weak. To compensate, I’ve been working on warming up my portraits, but I’d love to try shooting in that rustic, wedding-hipster style that’s so popular right now.
Going forward, I’d love to figure out some cool lighting tricks (a light ring is forever on my wishlist), or finally invest in a macro lens to play with. I also want to figure out how to achieve depth in my blacks, à la Crystal Candy Makeup!
What are your photo goals for the year?