


There are two extremes that you see a lot of in Fashion Week photos, no matter where you are: the super-nude face, and the red lip. I decided to do a “transitory” look, starting with a nude face (light nude eyes, colourless skin, and paled-out lips) and take it into a look with dark, glossy eyes and red lips. Think… NYFW Vera Wang to Marc Jacobs.
To see the looks, find out how to create them, and hear what I used, keep reading.
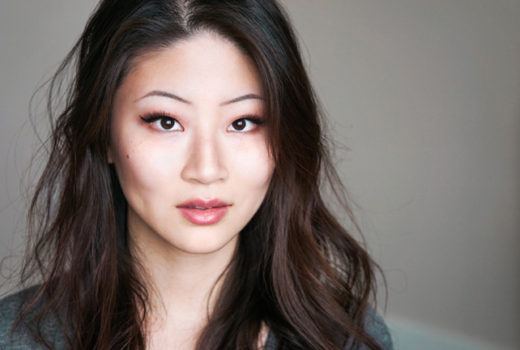
The flat, nude look
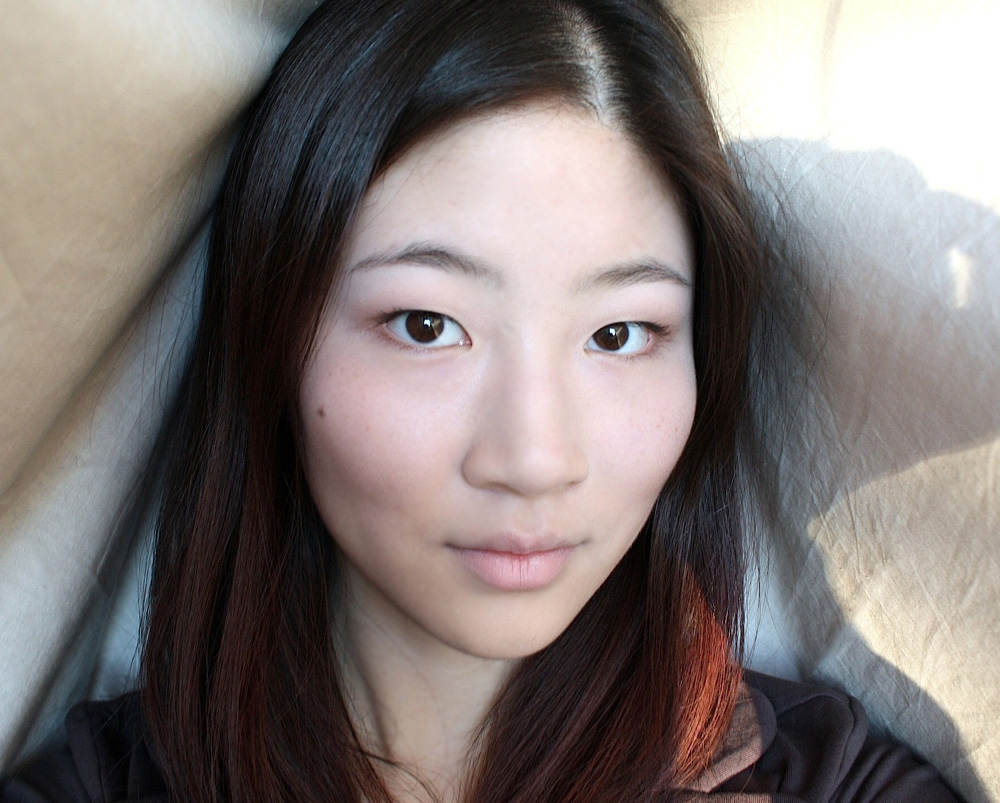
Of course, this was the easiest to execute! For the base, I simply applied a medium-coverage tinted moisturizer and lots of concealer (well, and Photoshop, but we don’t have access to that in real life…) The lip’s included in this step, too — just go over them with foundation or concealer as you do the rest of your face. Prep the skin with a luminous primer, or opt for something with a satin or dewy finish.
The cheeks and eyes are just as simple; contour (heavily) with a matte product for the former. For the latter, I simply went over my entire area with a skin-toned shade, added a bit of contour with a shadow just one shade darker, and topped with mascara. (Both shadows I used were matte as well.)
(My apologies for the awful photo. I’m blaming the lighting!)
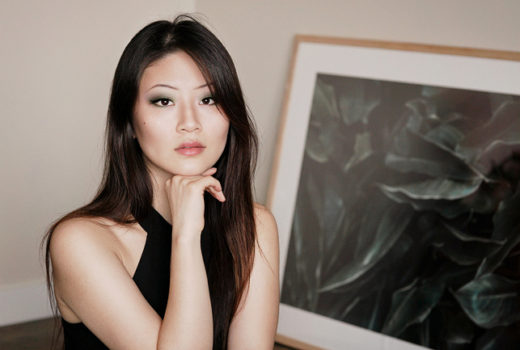
Getting darker…
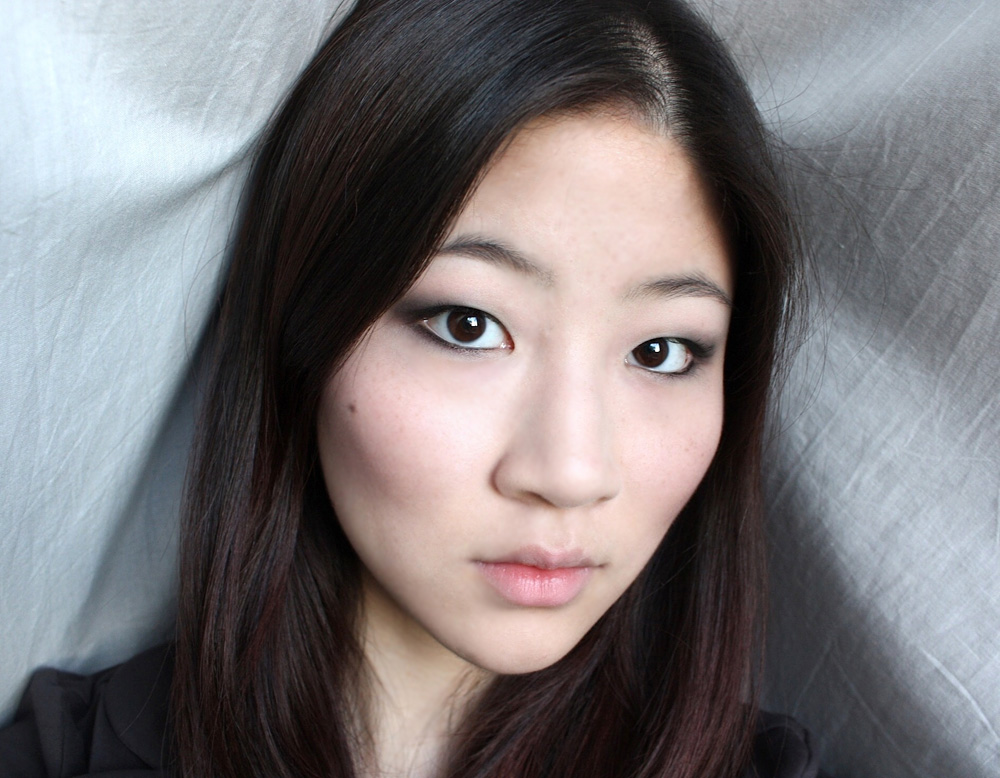
For this, the cheeks and lips stay the same — the only addition is the eyes. I layered on only one shade (black, obviously!) and just spent a bit of time buffing and blending. Then, line your upper and lower waterlines and lash lines, smudge any hard edges from the liner, and check for fallout!
If you do find fallout, leave it there. (Kidding. Clean it away and touch up your base as necessary.)
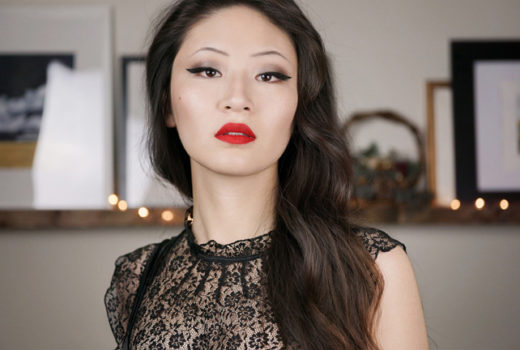
And darker still…

The eye stays the same as in the above version, but I amped up the cheeks and (obviously,) the lips! I like a really matte, crushed-berries red lip, so I chose to go with a liner overtop a hydrating lip balm — but choose as you wish! Remember to blot the finished product, and don’t be afraid to perfect your lip line with a q-tip soaked in oil-free makeup remover and/or concealer.
The cheeks are a little bit harder, but shouldn’t cause you too much trouble. For a really contoured look, I picked a burnt red and buffed it onto the apples of my cheeks, blending upwards. Then, for the contouring itself, I chose a dark matte plum and worked it lightly onto the bottom of my cheekbone. Tip: keep a clean brush on hand for extra buffing and blending!
The glossy eye

I wanted to try this out; I know it’s totally unwearable but was nonetheless fun to do! For this, I simply swatched my black shadow (heavily) on the back of my hand, picked up a bit of Vaseline on the ring finger of my other hand, and blended. Then I just patted and smudged it onto my lids, simple as that!

(Erm, also… I have no idea what the heck my hair is doing, but aside from looking really weird, it’s also making my cheekbones look like WHOA! so I guess I’m okay with it?)
Senna Eye Shadow in Fusion
MAC Eye Shadow in Blanc Type
100% Pure Ultra Lengthening Mascara in Black Tea
MAC Powder Blush in Harmony
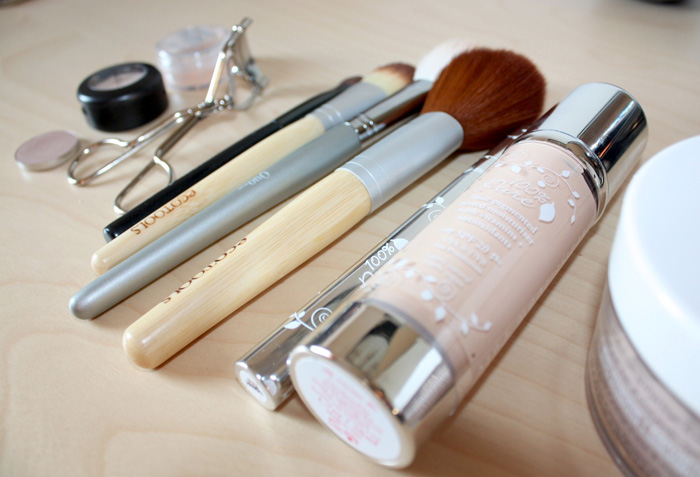
100% Pure Tinted Moisturizer in Creme
Marcelle Face Powder in Translucent
Products added — dark
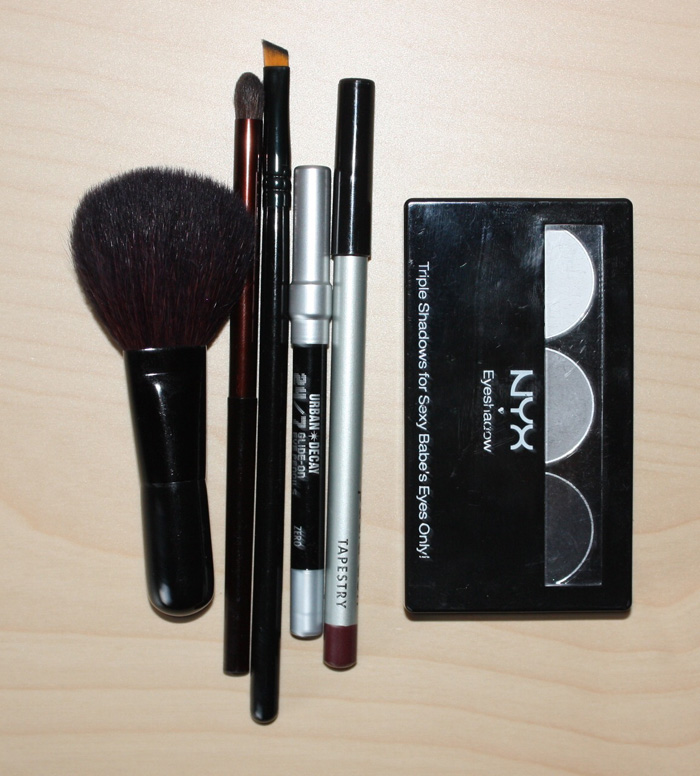
NYX Eye Shadow in Black
Urban Decay 24/7 Eyeliner in Zero
Paula Dorf Lip Liner in Tapestry over Bobbi Brown Lip Balm SPF 15
Senna Eye Shadow in Intrigue and Smoulder to contour and colour cheeks (not pictured)
Suggested dupes…
For the dark cheeks: MUFE Powder Blush would be fantastic, with their colour selection — I’d go with something like Dark Red and Pearly Rosewood, I think. Or, use a matte shadow followed by a pearl-finish one (which I did.) MAC Beauty Marked would be perfect for the contour shade!
For the lip colour: Dark lips are really personal, but I love products like Annabelle Adrenaline for a lipstick, or theBalm Boyz’n My Berry for an easier-to-wear gloss.
For that “perfect base” foundation: MUFE Face and Body, of course! Or, try whatever you’re currently using and mist it gently with a setting spray (water and glycerine in a 5:1 ratio works nicely.)