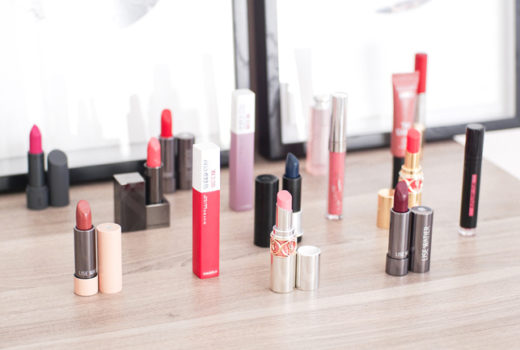
- Makeup remover and q-tips for mistakes or slip-ups.
- Light, shimmery cream concealer or hilighter
- Blue liner (this could, actually, be a tutorial for any colour liner…) For the most 3-D look, use 3: a shimmery light, a sligtly shimmery medium, and a more matte dark.
- Black liner
- Eyelash curler
- (Not shown: concealer)
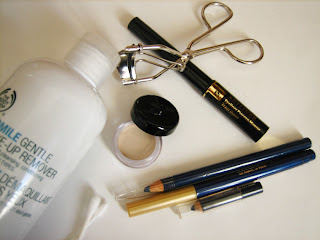
What I used:
Base
- CoverGirl Neutralizer Smoothers
- NS: EDM Intensive Light concealer
- NS: EDM Olive Fair intensive foundation
Liners
- Lancome Artliner in Noir
- Jordana Quickliner in Tahitian Blue
- Mary Kay Eyeliner in Navy (sample)
- Unnamed blue liner… :P
Tools
- Q-tips
- Pointed cotton swabs (from Daiso)
- Asian-brand eyelash curler (also from Daiso)
- TBS Gentle Eye Makeup Remover
- NS: Quo All Over Shadow brush
- NS: adesign mini Kabuki
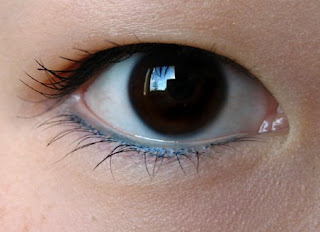
1. Start by concealing your naked eye. Touch the inside rim lightly with the luminizer/shimmery concealer to “perk up” your eyes a bit – I use so little you can’t tell it’s there, but enough that it does really make a difference.
*note: to set minerals, I spritz lightly with water and let it dry. The spritzer bottle is little, smaller than my hand, and was like $0.50 at Storables. Actual face mist works well too!
**other note: make sure that if you need eyedrops, you put them in first. It’s a long story.
2. Apply your lighter colour to the middle of your lower lid. (Jordana)
3. Line/tightline your upper lid. You can use whatever form of liner you wish, but I like this one. This step can be done at any time… I just felt like doing it at this point :P Clean up the line with the q-tips and makeup remover! (Lancome)
4. Line your outer corner with the medium shimmery blue (unnamed). Blend if it’s too harsh; go over a bit of your light line so they’re not “broken”.
5. Line your inner waterline with a matte navy. (Mary Kay) Note that you’re not lining your lower lashline, but rather a soft, dark like as thin as you can get it!
6. Curl lashes.

7. You could have stopped at six… but why would you? Add mascara or use your liquid liner as one. I did, and it turned out pretty okay! Actually, it turned out more than pretty okay. It turned out great.

You’re done!
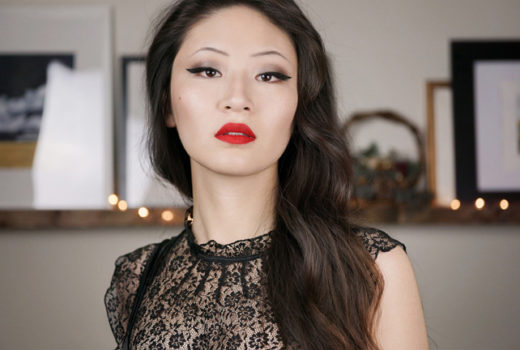
The great thing about this is that it takes just minutes to do and can be worn with almost anything. It makes your eyes pop, without the time and hassle of eyeshadow! I paired it with my CG Amazemint gloss in Happy Hour (review and photos soon!) as well as Estee Lauder Blush All Day in Plum* and just a touch of TBS Cheek Blush (it’s a cream, in a tube) in Golden Pink on my apples.
xo
Rae <3>*if you have a Blush All Day in Plum for sale or swap, LET ME KNOW!! It’s been discontinued and I’m freaking out O.o

