


Here is what I know: no matter what I do, I will be doing you a disservice. I’ve run the…
4. Makeup looks, Canadian beauty, Cheeks, Eyes, Indie brands, Lips, Lise Watier, Makeup looks: colour, Product Photos, Product Review, Product Swatches, Spring/Summer 2018
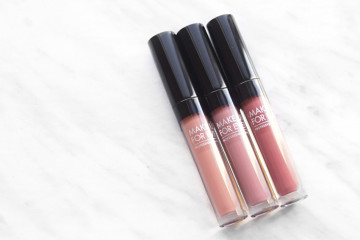
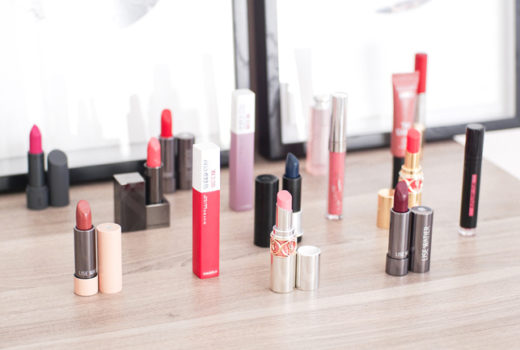
Lise Watier Urban Velocity review, swatches, makeup look: BALANCE