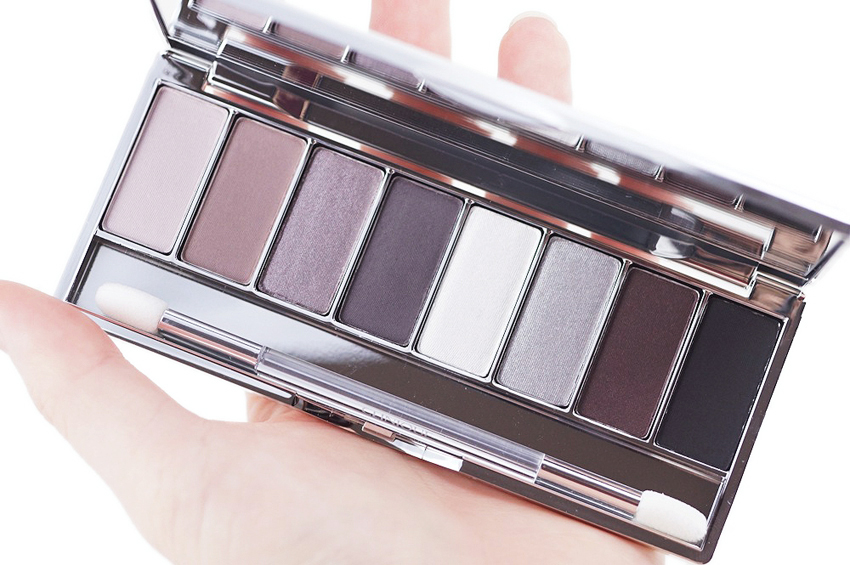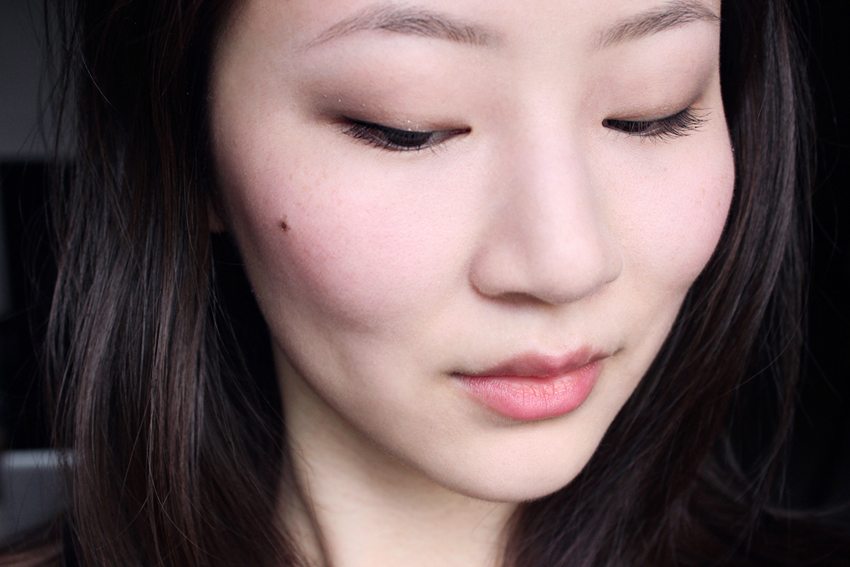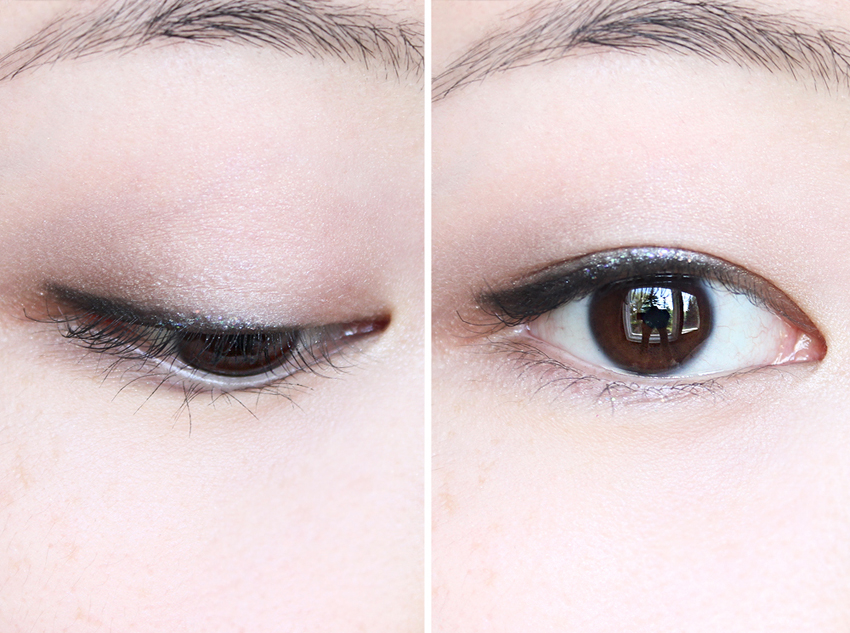


The product: Clinique All About Shadow 8-Pan Palette in Wear Everywhere Greys This palette, you guys, is everything. “Pretty. Simple. Overstuffed makeup…
Clinique, Eyes, Product Photos, Product Review, Product Swatches, Spring/Summer 2015
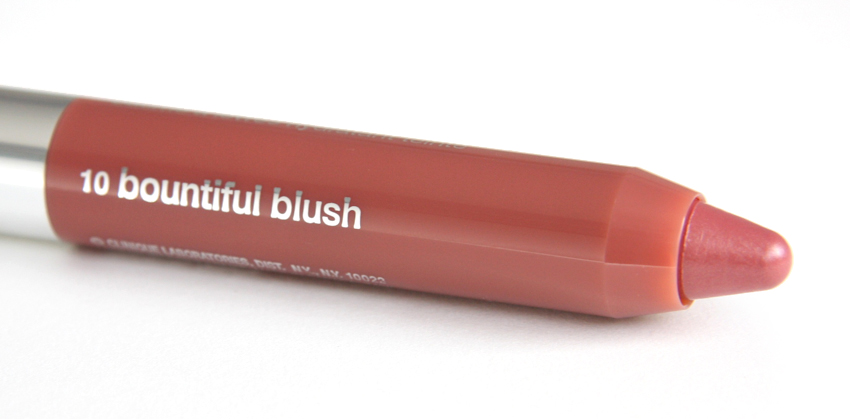
Clinique Wear Everywhere Neutrals “Greys” 8-Pan Palette swatches, review, photos | Super sleek + super affordable, with a side of extra-super-awesome