


The product: Annabelle Cosmetics Skinny Brow Liner in Universal Ebony Okay, so this one is a bit of a “cheat post.”…
Annabelle, Canadian beauty, Eyes, Holy Grail, Indie brands, Paraben-free, Product Photos, Product Review, Product Swatches, Silicone-free
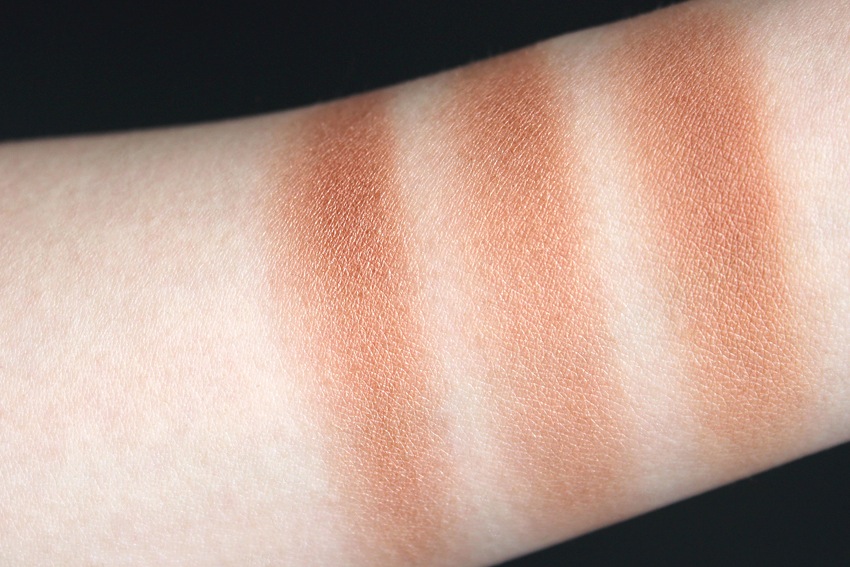
Annabelle Skinny Brow Liner in Universal Ebony review, swatches, photos | One in, one out