


I just thought I’d take a moment to show you guys what it is I do to photos before posting them – and why it takes over a month from date-of-photo to posting date, most of the time. No it’s not black market trading or under-the-table payoffs from multinationals…
…it’s the dreaded dark image!
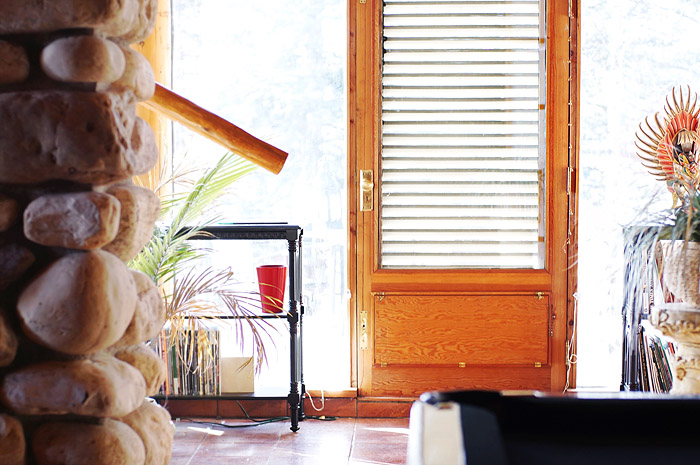
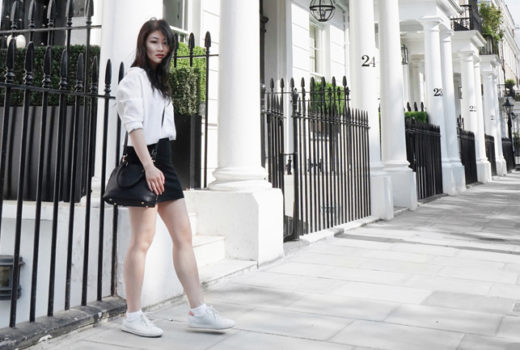
 The original photo (resized to about 1000 pixels).
From here, it’s brightened, cropped, and resized to 700 pixels… depending on the item, no retouching has to be done, or a lot of work is needed. If I took an EOTD, for instance, and there was a loose eyelash on my cheek? I’m totally OCD, so I’d airbrush that out. Contrast needed? The colours are too yellow? Blue? More fixing.
Once it’s finally done, it goes into the “theNotice: done” folder. That’s where it stays until I write a review, at which point it’s moved into the correct folder – for instance, “Tutorials” or “Product Photos / High-End / LORAC”.
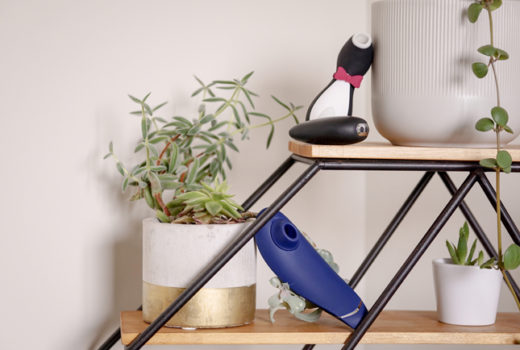
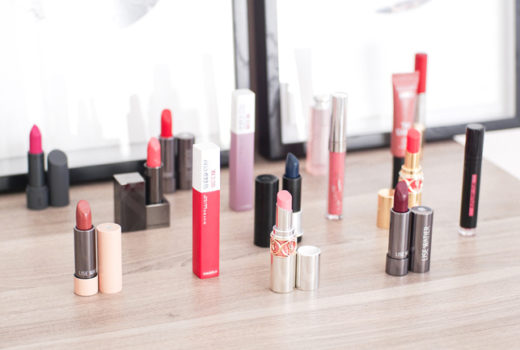
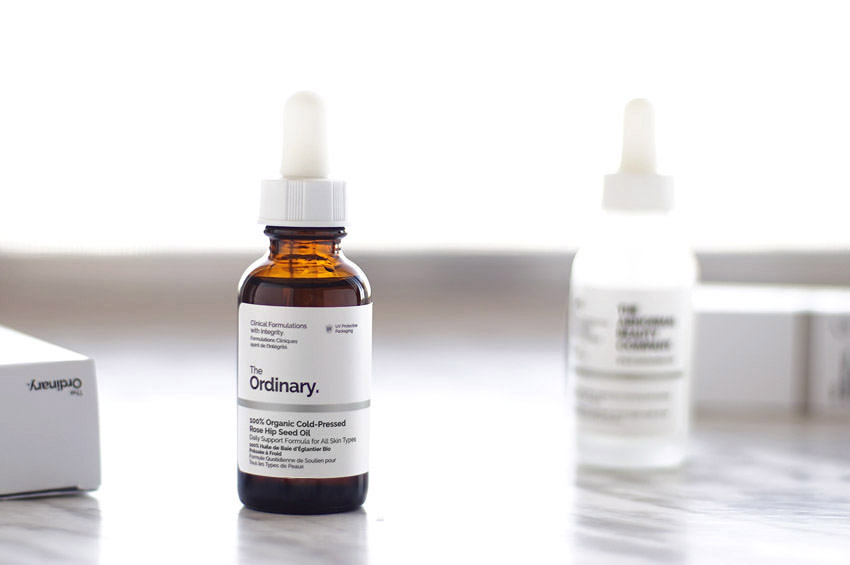
 What you guys see
It’s quite the process! I know it could be a lot easier, but I feel obligated to have nice photos for each post – ones that really represent and show the true product. It’s hardest in the winter, when the sun goes down by about 5PM, because I don’t usually have time for doing blog stuff until 9! (Sunlight photos are the easiest to work with: they have the best colour representation, the cleanest lines, and the overall brightest image.)
That’s all =) Have a great Tuesday!