


I’m so proud of myself, finally doing my first tutorial! God, I’m lazy.
This was done back in April, but I never got around to publishing it. I figured today would be as good of a day as any, seeing as I go back to school today (ugh.)
Materials
- Melting device: blow dryer or microwave, though I’ve heard a straight or curling iron can be used to heat from the bottom with a metal container! Also, things melt well in a metal spoon over a flame.
- A placemat, or stack of paper, to keep your surface clean.
- A container – pots are the most handy, try to use an old sample container. But an old lipstick or lip balm tube would work just fine if you’re using a more solid base!
- Fill it with a base: Vaseline, or an old colourless lip balm.

- Now get something to tint it with – mineral powders and pigments are easiest, but you could break an old eyeshadow and grind it up, or use a piece of stiff paper to scrape colour off your pan blush or eyeshadow. For the perfect nude gloss (I don’t have a photo, but this looks amazing on me, if I do say myself!), use a foundation that is just a little too light to match your skin tone. (I’m using EM Sandy Fair sample) Remember: if you’re about to use a solid, make sure it melts evenly, first!
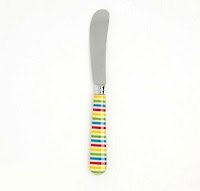
- Get a spatula – I like using butter knives, actually, as they’re flat and non-serrated, as well as small.
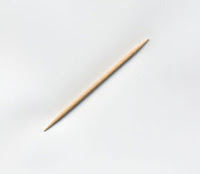
- If that doesn’t fit in you pot, get something smaller to stir with – I used a toothpick, but beware: they can cause bubbles!


Steps
*if you’re melting over a flame or iron, skip the first two steps. Instead, put the balm in the middle of the spoon, melt (it melts super fast over a flame!) and pour into your container.
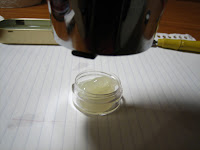
- Fill your container with the balm, using the spatula. Put it on paper or a placemat, in case of spills. (If you do use paper, use three+ sheets!)
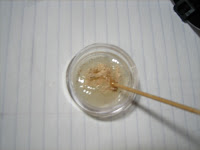
- Melt the balm – with a blow-dryer, or in a microwave. We want it super-liquidy, but remember: the pot is light, so have the dryer directly overhead, lest you blow it off the table! Also, if your container is too full, the air will force it to overflow, so only fill it about halfway to begin with. It would have been a good idea for me to put objects around the pot, to keep it from sliding around!
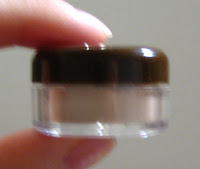
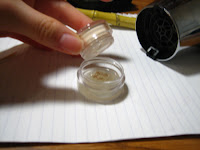
- Tap in your colour. If you want it to tint your lips, add a generous ammount, but if you just want the colour for fun, tip in just enough to get your colour (For instance, I made my sister a purple lip balm, but it doesn’t tint her lips! Photo at bottom.)
- Mix your colour in – if it’s not dark enough, add more pigment. Too dark? Add more base. Repeat! (If you keep having to add base, you may need to throw some out – remember, if it’s chock-full, it’ll spill!)
- Wipe the edges while it’s still warm, set on a level surface, and don’t touch it! Mine take about 15 minutes to cool completely.
- If you’re not 100% happy with it, melt and repeat until you are :)


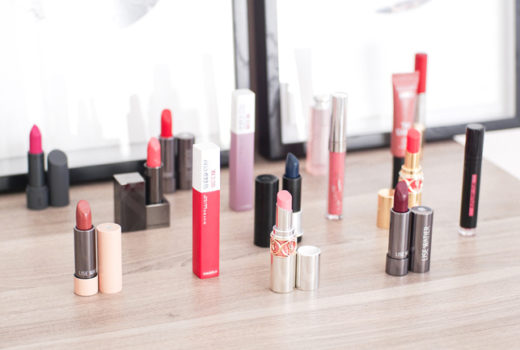
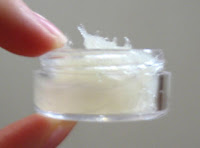
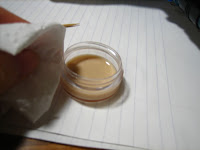
The finished product:
Other:
Just warm up old petroleum-based lip balms and let them set for a nice like-new finish. (TBS Born Lippy in strawberry) Vaseline + mineral pigments = great for sensitive skin! My sister can’t use anything but Vaseline, so I melted her this for her birthday. Just a touch of pigment made the balm a deep purple (her favourite colour), but it’s pigmented lightly enough that it doesn’t show up on her lips.
*make sure it’s lip-safe! A pot of Vaseline makes a nice clear balm. I melted some in an old Altoid gum container, just for kicks :D It’s great to have lying around in my bag or drawer to use as a lip balm, gloss, or even on my eyelashes. Or, in extreme events, on my flyaways!